 Birch Bay
 Why Siding Failure Is Easy to Miss
Siding doesn't usually fail all at once. It fails a little at a time, in places you don't look at very often — behind shrubs, under eaves, at the bottom courses closest to grade. By the time a problem is visible from the driveway, it's often been developing for a year or more underneath the surface. That gap between "when it starts" and "when you notice" is the single biggest reason siding repairs turn into full replacements.
In Birch Bay, that gap gets compressed. Salt air off Semiahmoo Bay and the Strait of Georgia accelerates corrosion on fasteners and metal flashing. Driving rain off the water pushes moisture sideways into seams and laps that were only ever designed to shed water falling straight down. And the long, damp moss season here — often running from fall through spring — keeps north-facing and shaded walls wet for weeks at a stretch. None of these things cause damage overnight, but they compound. A siding system that would coast for 25 years in a dry inland climate can show real wear here in half that time if it isn't suited to the conditions or wasn't installed correctly.
This page walks through what to actually look for, wall by wall, and what those signs usually mean.
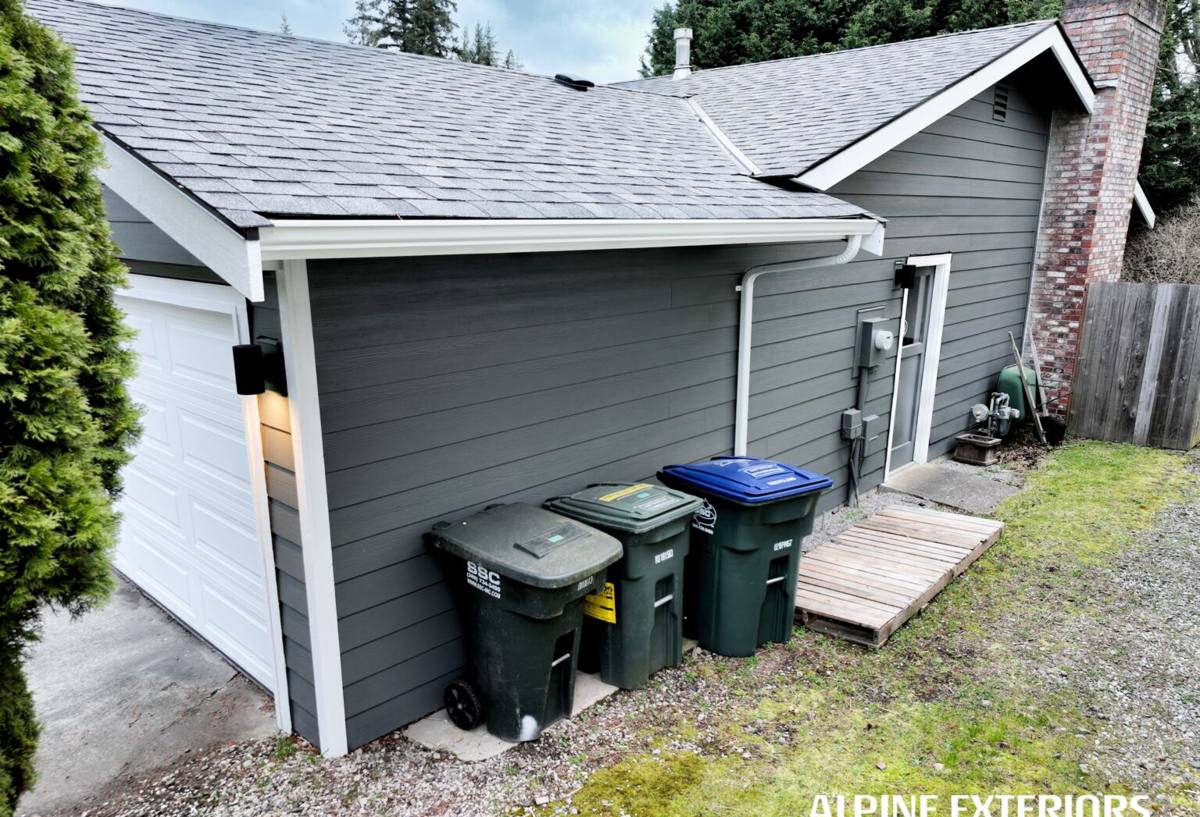
The Walk-Around: What to Check and Where
Start Low
The bottom two or three courses of siding on any home take the most abuse. They're closest to splashback from rain hitting the ground, closest to sprinkler overspray, and often closest to mulch or landscaping that holds moisture against the wall. Look for:
- Soft or spongy spots when you press with a fingertip or the heel of your hand
- Visible swelling, bubbling, or a "puffy" look to the surface
- Paint that's cracking, flaking, or peeling in a way that doesn't match the rest of the wall
- Dark staining or streaking that doesn't wash off
- Gaps opening up between siding and trim, or siding and the foundation
Then Check the Corners and Penetrations
Anywhere something interrupts a flat wall — outside corners, window and door trim, hose bibs, light fixtures, dryer vents — is a place water can get behind the siding instead of running down the front of it. Caulk that has shrunk, cracked, or pulled away from the edge is a common early warning sign, especially on south and west walls that see the most sun-driven expansion and contraction.
Don't Skip the Shaded, North-Facing Walls
These are the walls that stay wet longest after a storm and get the least sun to dry them out. In Whatcom County's moss season, this is where you'll typically see the earliest growth — on the siding itself, in the butt joints, and along the bottom edge of trim boards. Moss and algae aren't just cosmetic; a persistent layer holds moisture against the surface around the clock, which matters a lot more for wood-based products than it does for fiber cement.
Sign-by-Sign: What Each One Usually Means
| What You See | Likely Cause | Urgency |
|---|---|---|
| Soft or spongy siding | Moisture has penetrated the material and is breaking it down from the inside | High — act soon |
| Bubbling or blistering paint | Moisture trapped behind the paint film, often signaling substrate saturation | Moderate to high |
| Visible warping or buckling boards | Repeated wet/dry cycling, often combined with poor original installation or ventilation | High |
| Persistent moss or algae growth | A wall that isn't drying out between rain events | Low urgency, but investigate cause |
| Cracked or missing caulk at seams | Normal aging of sealant; leaves an open path for water | Moderate — easy to address early |
| Rust streaks below nail heads | Corroding fasteners, often not rated for coastal exposure | Moderate to high |
| Gaps or separation at seams | Material movement, moisture swelling, or shrinkage | Moderate |
| Musty smell in an adjacent interior room | Moisture has likely reached the sheathing or wall cavity | High — investigate immediately |
Why Some Siding Materials Show These Signs Sooner
Not every siding product ages the same way under the same conditions, and it's worth understanding why. Wood-based siding products — including primed spruce, cedar, and engineered wood products like LP SmartSide — rely on an intact factory or field-applied coating to keep moisture out of a fibrous substrate. Once that coating is compromised at a cut edge, a fastener hole, or a seam that wasn't sealed correctly, the material underneath can begin absorbing water. In a climate with Birch Bay's rainfall pattern and moss pressure, that coating is under more or less constant stress.
Vinyl siding behaves differently — it doesn't absorb water the way wood-based products do, but it has its own failure patterns: it can warp or distort from heat and direct sun exposure, become brittle and crack in colder snaps, and its seams and J-channels are a common path for water to get behind the cladding and reach the sheathing, where you often can't see the damage until it's advanced.
Fiber cement products vary too. Because fiber cement is a cement-based composite rather than an organic material, it doesn't rot, and it holds paint and factory finishes considerably longer than wood-based siding — which matters directly for how many of the signs above you'll ever see. This is why we install James Hardie fiber cement exclusively: it's manufactured with regional climate zones in mind (Hardie's HZ5 product line is engineered for wetter, harsher climates like ours), and its ColorPlus factory finish is baked on and warranted separately from the substrate, rather than relying on a field-applied coat that's only as good as the weather on installation day.
Installation Matters as Much as the Material
A lot of "siding failure" homeowners deal with isn't really a material failing on its own — it's a material failing because it was installed wrong. This is true across every product category, Hardie included. Common installation mistakes that show up years later as the symptoms above:
- Siding installed tight to the ground or to a deck or patio surface, with no gap for drainage and drying
- Missing or improperly lapped flashing above windows, doors, and horizontal trim
- Face-nailing where the manufacturer specifies blind-nailing, or nailing patterns that don't match the product's engineering
- Caulking used as a substitute for proper flashing, rather than as a supplement to it
- Insufficient gap at butt joints, preventing the material from expanding and contracting without stress
- No rainscreen or drainage plane behind the siding, particularly relevant on walls that face prevailing wind-driven rain
A good inspection doesn't just ask "what siding is on this house" — it asks "was it detailed correctly for this specific climate." A home two miles from the water needs different flashing and clearance details than one further inland, even within Whatcom County.
What to Do If You Spot Warning Signs
Not every sign means the whole wall needs to be replaced. Some issues — cracked caulk, an isolated area of moss, a section with poor drainage clearance — can be corrected without full re-siding. Others, particularly soft or spongy material, buckling, or a musty interior smell, usually mean moisture has already reached the sheathing and the scope is bigger than it looks from outside.
A reasonable approach:
- Document what you're seeing — which walls, which elevations, how widespread
- Check for a pattern: is it worst on the north wall, the water-facing wall, or near ground level everywhere?
- Get an inspection before deciding between repair and replacement — probing a suspect area tells you a lot more than looking at it
- If moisture has reached the wall cavity, address that before any cosmetic work, or the same problem returns
Preventive Habits That Actually Extend Siding Life
Regardless of what's currently on your home, a few habits reduce the moisture load your siding has to deal with:
- Keep gutters clean and downspouts directed away from the foundation — overflowing gutters are a top cause of water damage right at the wall
- Trim back plants and shrubs so air can circulate along the wall and siding can dry after rain
- Recaulk seams and penetrations on a normal maintenance cycle rather than waiting for visible gaps
- Rinse off moss and algae buildup before it becomes a heavy, moisture-holding mat, especially on shaded walls
- Watch bottom courses and grade clearance after any landscaping or hardscaping work, which can quietly bury siding that was originally installed with proper clearance
When Replacement Is the Right Call
If an inspection turns up moisture damage across multiple walls, siding original to a home built more than 20-25 years ago that's showing widespread wear, or a pattern of installation defects that would be more expensive to chase individually than to correct at once, full replacement is usually the more economical path — even though it's the bigger upfront number. It's also the point where the choice of material matters most, because you're setting the next two-plus decades of maintenance burden. This is the exact reasoning behind why we standardized on James Hardie fiber cement for every installation we do: it's a material and warranty structure built to hold up under the conditions Birch Bay actually sees, not just the conditions a spec sheet was written for.
If you're noticing any of the signs above, or you just want an honest read on what condition your siding is really in, we're happy to take a look. A free, no-pressure estimate includes a real walk-around inspection, not just a quote — use the form below to get started.