 Birch Bay
 Windows Installed Right, From the Framing Stage On
New-construction window installation is a different job from replacing an old window in an existing wall. When a house is still in the framing stage, the window goes in before the siding, before most of the trim, and often before the water-resistive barrier is fully lapped and taped. That means every flashing decision made at this stage either protects the wall for the next 30 years or sets up a slow leak that won't show itself until the drywall stains or the sill starts to soften. For a home going up in Point Whitehorn, right on the Whatcom County coastline, there's no room to get this stage wrong.
We work new-construction window installs for builders and owner-builders in the Birch Bay area, including Point Whitehorn homes facing the strait. This page is about that specific scope of work — window install during construction, not retrofit replacement in an existing wall.
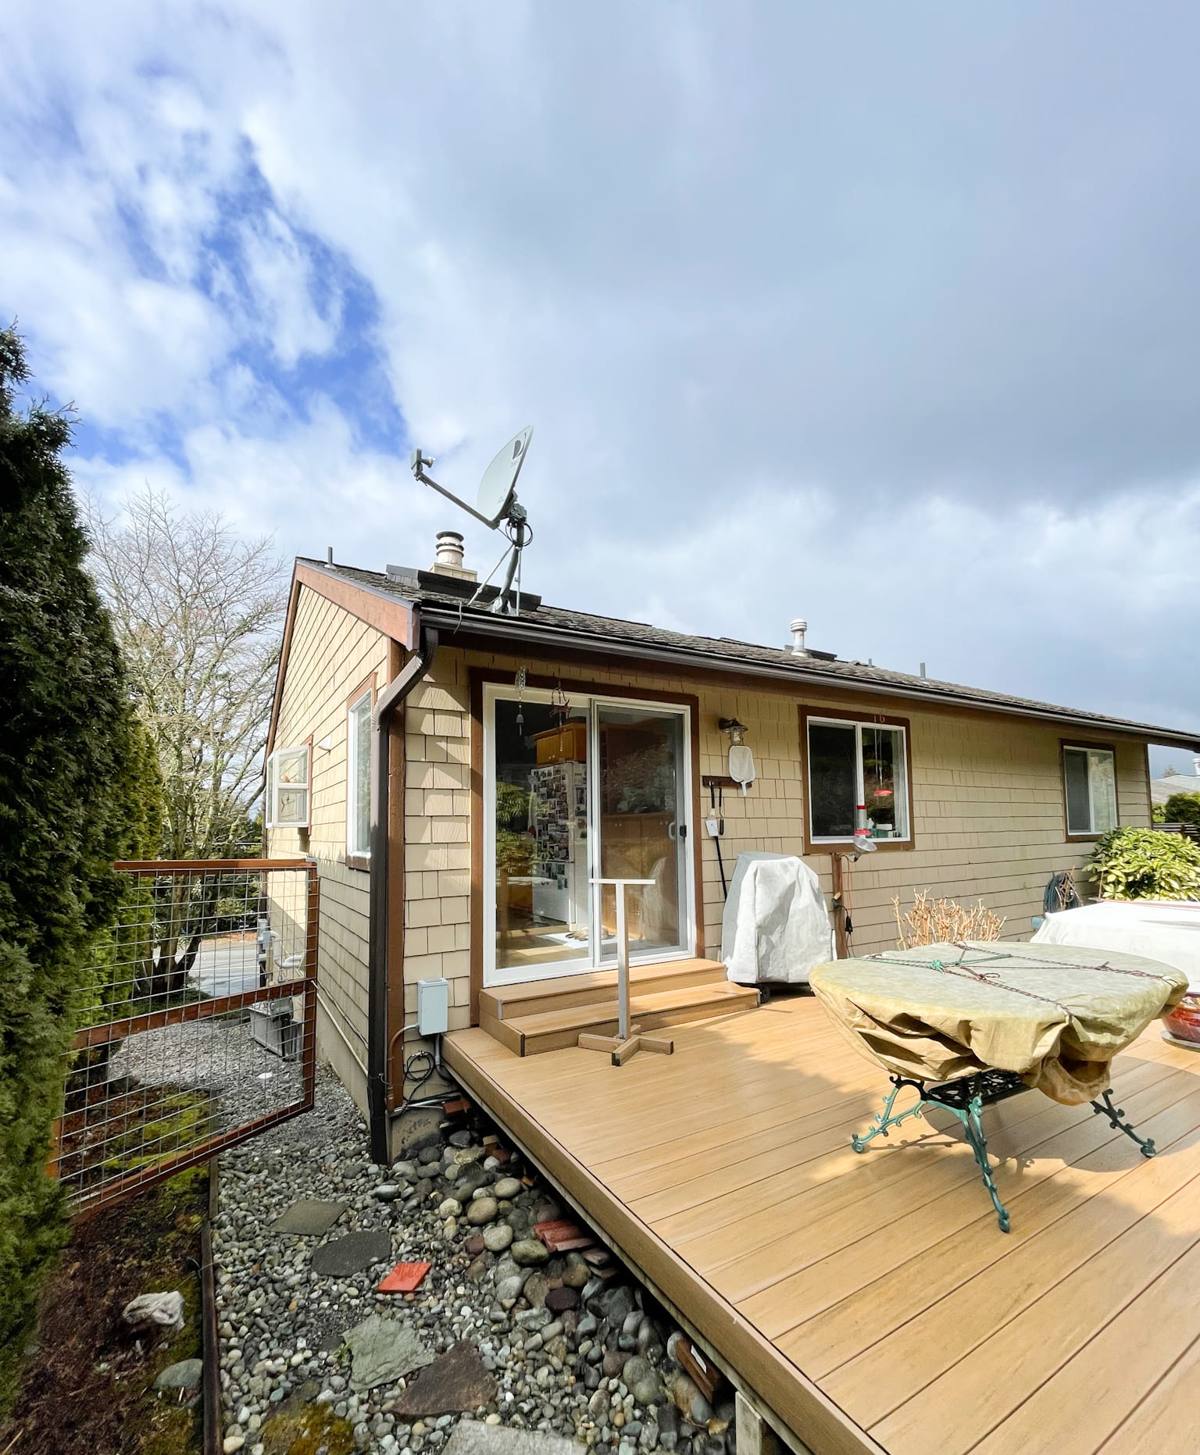
What Point Whitehorn's Exposure Actually Demands
Salt Air
Homes this close to the water take on airborne salt that settles on every exterior surface, including window frames, fasteners, and flashing metal. Salt accelerates corrosion in the wrong hardware and slowly degrades some sealants faster than manufacturers' inland test data would suggest. The fix isn't exotic — it's choosing corrosion-resistant fasteners and flashing metals from day one and not treating this like a typical inland build.
Driving Rain
Wind off the water doesn't just drop rain straight down — it pushes it sideways and up under laps that would shed water fine in a calmer location. A window opening built for a sheltered inland lot, using minimal sill pan protection or shortcut flashing laps, is exactly the kind of installation that fails first in wind-driven rain. Point Whitehorn's exposure means the flashing sequence has to assume water will hit the opening from more angles than straight-on.
Moss and Standing Moisture
Whatcom County's long wet season keeps north-facing and shaded wall sections damp for months at a time. Moss doesn't just grow on roofs — it takes hold on window sills, trim, and anywhere organic debris collects moisture against wood or fiber-cement trim. An installation that leaves nowhere for water to drain away from the window, or that traps moisture behind trim, is feeding that moss problem for the life of the house.
What a Correct New-Construction Install Actually Involves
New-construction windows use a nailing flange fastened directly to the sheathing, which means the window becomes part of the wall's water management system — not just something dropped into a finished opening. The sequence matters more than the window itself:
- Rough opening checked for square, level, and correct sizing before the window ever gets set
- Sill pan flashing installed first, sloped to drain outward, so any water that gets past the window has somewhere to go
- Water-resistive barrier lapped correctly at the sides and head — shingle-style, so water always drains over the layer below it, never into a seam
- Window set into the opening plumb, level, and square, then fastened per the manufacturer's schedule
- Flashing tape or flashing metal installed at the flanges, integrated with the WRB in the correct order — sides before head, head lapping over the top of the side flashing
- Head flashing set with a drip edge so water clears the top of the window instead of running down the face
- Backer rod and sealant at the interior air seal, not just the exterior — this is where most heat loss and condensation problems start if it's skipped
Skip any one of these steps and the window itself doesn't matter — a premium window installed with a shortcut flashing sequence will leak sooner than a mid-grade window installed correctly. This is the single biggest thing we'd want a Point Whitehorn homeowner or builder to understand before hiring anyone for this scope.
Choosing Frame Material for This Exposure
New-construction gives you a full choice of frame material since you're not constrained by an existing opening. Here's how the common options hold up in a coastal, high-moisture setting like Point Whitehorn:
| Frame Material | Salt Air / Coastal Behavior | Maintenance |
|---|---|---|
| Vinyl | Doesn't corrode; good baseline performance at a moderate price | Low — occasional cleaning |
| Fiberglass | Very stable dimensionally, holds up well to sun and salt exposure | Low |
| Aluminum-clad wood | Cladding resists weather but any breach exposes wood beneath to rot; corner and joint sealing matters more here | Moderate — watch cladding seams over time |
| Wood (unclad) | Attractive but needs consistent upkeep in this climate; not our default recommendation for direct coastal exposure | High |
We don't push one brand over another — the honest answer is that frame material matters less than installation quality, but in a salt-air, high-rain environment we do steer clients away from unclad wood on exposed elevations and toward vinyl or fiberglass unless there's a strong design reason to go another direction.
Our Process for a Point Whitehorn Build
- Plan review: we look at the window schedule and rough opening sizes against the framing plans before anything ships, catching sizing mismatches early instead of on install day.
- Site coordination: new-construction windows have to land in the schedule at the right moment — after sheathing and WRB, before siding. We coordinate directly with the builder or GC so the sequence doesn't get rushed or skipped.
- Install: full flashing sequence as described above, on every opening, not just the ones facing the weather. Wind off the water in this area doesn't always come from one direction.
- Inspection: we check our own flashing laps and sealant lines before siding closes the wall up, since that's the last point anyone can see the work without tearing into finished siding.
- Documentation: photos of flashing at each opening before it's covered, so there's a record of what's behind the siding if it's ever needed for a warranty question or future renovation.
Why Local Experience in Point Whitehorn Matters
A crew that's only worked inland Whatcom County builds will still know how to hang a window — but they may not default to the extra flashing margin, corrosion-resistant fasteners, and drainage-first detailing that this stretch of coastline actually needs. We've done this work in Birch Bay and the surrounding shoreline communities, so the salt-air and wind-driven-rain considerations aren't an afterthought — they're built into how we sequence the job from the start. That also means we're familiar with local building department expectations for window flashing inspections in Whatcom County, which keeps the framing-stage schedule from stalling out waiting on a callback.
What Drives Cost on This Kind of Job
| Factor | Why It Moves the Price |
|---|---|
| Number and size of openings | More openings and larger units mean more flashing detail and labor time |
| Frame material | Vinyl is typically the most economical baseline; fiberglass and clad-wood cost more |
| Wall height and access | Second-story and high walls need more setup and staging time |
| Coordination complexity | Working around an active framing schedule with other trades takes more planning than a standalone install |
| Upgraded flashing materials | Higher-grade flashing tape and metal for this exposure costs more than minimum-code materials but pays off in fewer callbacks |
We'll give a firm number after seeing the plans and the actual openings — broad per-window ranges without seeing the job tend to be more misleading than helpful.
A Practical Checklist Before You Sign Off on Any Window Install
- Ask to see the sill pan flashing before it's covered — not just told it was done
- Confirm the WRB lap order at each opening: sides first, head over the top
- Ask what fastener material is being used and whether it's rated for coastal/salt exposure
- Confirm head flashing includes a drip edge, not just a flat cap
- Ask whether interior air sealing is included or billed separately
- Get photos of the flashing at each opening before siding closes the wall
Getting the Timing Right in Your Build Schedule
One of the most common ways a good window installation gets undermined isn't bad workmanship — it's timing. Windows installed before the WRB is fully in place, or before the sheathing has had a chance to dry from a wet framing stretch (common in this region's wet months), can trap moisture behind the flashing before the wall is even closed up. We'd rather push the install date a few days to get a dry window for flashing tape adhesion than rush it into a soggy schedule and risk the seal. That's a conversation worth having with your GC early, not after the crew shows up.
If you're planning a new build in Point Whitehorn and want the window package done right from the framing stage on, we're glad to walk the plans with you and give a straightforward, no-pressure estimate — just fill out the form below.