 Birch Bay
 Siding Repair in Nooksack: Why the Climate Changes the Job
Siding repair sounds simple until you're the one standing in front of a damaged wall trying to figure out whether it's a patch job or something bigger. In the Nooksack area, that decision is shaped by the same weather patterns that move across all of Whatcom County: salt-tinged marine air working its way inland, long stretches of driving rain through fall and winter, and a moss season that can run most of the year on shaded walls. None of that is unique to Nooksack, but it's exactly the combination that turns a small siding problem into a bigger one if a repair doesn't address what's actually happening behind the surface, not just what's visible on it.
We repair siding for homes in and around Nooksack, and we treat every repair call the same way: find out why the damage happened before deciding how to fix it. A repair that just covers a hole or swaps a damaged board without addressing the moisture or installation issue behind it usually just buys a homeowner a year or two before the same spot fails again.
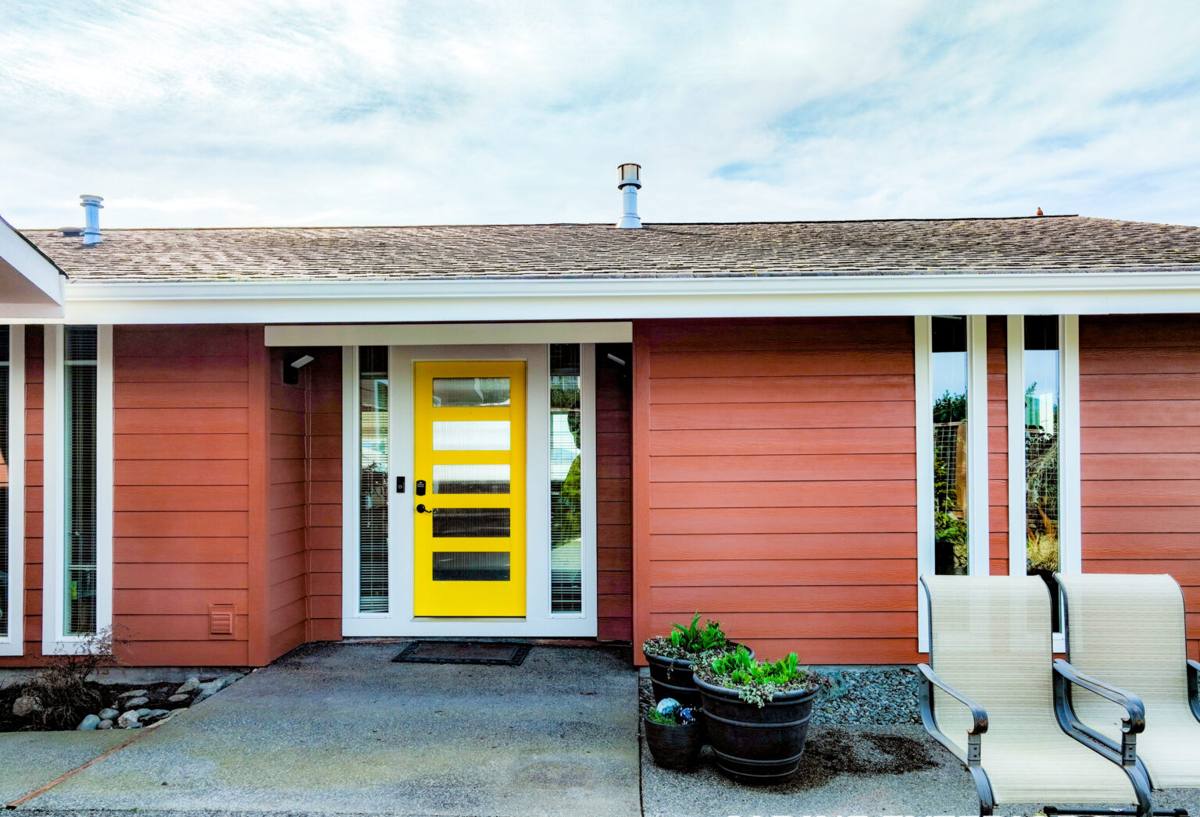
What Causes Most Siding Repair Calls We See in This Area
Moisture Intrusion at Seams, Trim, and Penetrations
The majority of repair calls we get trace back to water getting behind the siding rather than damage to the siding face itself. That usually happens at joints, window and door trim, hose bib penetrations, or anywhere flashing was missing, undersized, or improperly lapped when the house was built or last re-sided. Whatcom County's rain volume means even a small gap has a lot of opportunities to become a real problem over a wet winter.
Moss, Mildew, and Trapped Moisture
Shaded and north-facing walls in this region hold moisture longer than sun-exposed walls, and that extended dampness is exactly what moss and mildew need to take hold. On lower-quality or porous siding materials, that organic growth doesn't just sit on the surface — it can hold moisture against the substrate long enough to start breaking it down, especially at butt joints and lower courses near grade.
Impact Damage and Aging Materials
Not every repair is climate-driven. Cracked boards from impact, siding that's aged past its finish life, or sections damaged during other exterior work all show up on our repair calls too. But even straightforward impact damage needs to be repaired with attention to the moisture barrier behind it — in a wet climate, a poorly sealed repair around a cracked or replaced board can create a new leak point even if the original damage had nothing to do with water.
Signs You Likely Need a Siding Repair
- Soft or spongy spots when you press on the siding, especially near the bottom courses or below windows
- Visible cracking, chipping, or delamination on individual boards or panels
- Persistent moss or dark streaking that returns quickly after cleaning
- Bubbling, peeling, or discolored paint that suggests moisture trapped behind the finish
- Gaps or separation at seams, corners, or trim boards where caulking has failed or shrunk
- Interior signs like a musty smell, staining, or soft drywall near an exterior wall
- Visible daylight or drafts around window and door trim where siding meets the frame
Any one of these on its own might be minor. Two or three showing up in the same area of a wall is usually a sign that water has been getting in for a while, and it's worth having someone look before it spreads further.
What a Correct Repair Actually Involves
There's a real difference between a repair that solves the problem and one that just makes it less visible. The table below is a rough guide to what separates the two on a typical Nooksack-area repair call.
| Step | Quick Patch Approach | Correct Repair Approach |
|---|---|---|
| Diagnosis | Fixes the visible damage only | Traces the damage back to its cause — flashing, caulking failure, grade contact, or trapped moisture |
| Removal | Removes only the damaged piece | Opens up enough surrounding material to inspect the water-resistive barrier and framing underneath |
| Underlying moisture | Often left unaddressed if the sheathing looks intact at a glance | Checked and, if needed, allowed to dry or repaired before new material goes back on |
| Flashing and sealant | Caulk applied over existing gaps | Flashing corrected or added where missing, sealant applied to spec, not as a substitute for proper detailing |
| Material match | Whatever's on hand, sometimes a different product or profile | Matched material and, where we're doing the work, James Hardie fiber cement installed to manufacturer spec |
| Result | Looks fixed short-term | Addresses the actual cause, not just the symptom |
Our Repair Process
We start with an on-site look at the damaged area and, just as important, the areas around it. Siding damage rarely shows up in a vacuum — if one section failed, we want to know whether the same conditions exist elsewhere on the wall before we call the job done. From there:
- We identify the root cause of the damage, not just the damaged material itself
- We open up the affected area enough to inspect the water-resistive barrier, flashing, and framing behind the siding
- We give you a clear, written scope covering what needs to be repaired and why, before any work starts
- We correct flashing and drainage details as part of the repair, not as an optional add-on
- We install matched or compatible material — James Hardie fiber cement where we're supplying it — to the manufacturer's installation spec
- We check the surrounding area once the repair is complete to confirm there's nothing else nearby that's likely to fail next season
Repair or Replace? How We Help You Decide
Not every damaged wall needs full re-siding, and not every repair is worth doing if the underlying material is failing broadly. We walk homeowners through that decision honestly rather than defaulting to whichever job is bigger.
| Factor | Repair Usually Makes Sense | Replacement Is Likely the Better Call |
|---|---|---|
| Extent of damage | Isolated to one section or a few boards | Recurring across multiple walls or elevations |
| Underlying sheathing | Sound once opened up and inspected | Soft, delaminated, or showing rot in multiple spots |
| Material condition overall | Rest of the siding is stable and holding its finish | Siding elsewhere is chalking, cracking, or nearing end of service life |
| Cause of damage | A single, identifiable event or localized detail failure | A systemic issue like missing rain-screen detailing or widespread flashing gaps |
| Cost over time | Lower upfront cost, addresses the immediate problem | Higher upfront cost, but avoids repeated repair calls on aging material |
When a repair is the right call, we'll say so plainly. When we see enough underlying damage or aging material that a repair would just be a short-term fix, we'll tell you that too, along with why.
Why We Repair and Replace Exclusively with James Hardie Fiber Cement
When a repair requires new material — whether it's a few boards or a full section of wall — we install James Hardie fiber cement. We don't install LP SmartSide, vinyl, Cemplank, Allura, primed spruce, or cedar, including for repair work. That's a professional standard, not a sales pitch, and it comes from years of seeing how different materials hold up — or don't — once they're opened up on a repair call in this climate.
- Dimensional stability: Fiber cement doesn't swell, warp, or cup the way engineered wood products can after repeated wetting, which matters when you're matching new material into an existing wall.
- Non-combustible core: A repair shouldn't introduce a weaker fire-safety profile into an otherwise sound wall assembly.
- Factory-applied ColorPlus finish: New material holds its color and resists chalking without relying on field-applied paint, which helps a repaired section age consistently alongside the original siding.
- Climate-engineered HZ product lines: Hardie's HZ5 formulation is built for regions with heavy moisture exposure and freeze-thaw cycling, which fits Whatcom County's weather well.
- Transferable warranty: Hardie backs its product with a strong warranty structure when installed to spec, which protects the investment in a repair, not just a full re-side.
A repair is only as good as the material and the installation behind it. Patching a moisture problem with a material that's itself moisture-sensitive just moves the next repair call a year or two down the road.
A Quick Checklist Before Hiring for Siding Repair
- Ask whether they'll diagnose the cause of the damage, not just replace what's visible
- Confirm they'll open up the area enough to check the water-resistive barrier and framing underneath
- Ask what material they're matching or installing, and why
- Confirm current Washington contractor licensing and active liability insurance
- Get a written scope of work before any siding comes off the wall
Why Hiring a Crew That Already Works in Nooksack Matters
A crew that regularly repairs siding in this part of Whatcom County already knows the patterns — which details tend to fail first in a marine-influenced, high-rainfall climate, where moss takes hold fastest, and what a repair actually needs to hold up through another wet season rather than just look fixed for a photo. That local pattern recognition is the difference between a repair that lasts and one that becomes a repeat visit.
If you've got a section of siding that's cracked, soft, staining, or just doesn't look right, we're happy to take a look and give you an honest read on what it needs — a straightforward repair, a slightly larger fix, or a conversation about replacement. Reach out below for a free, no-pressure estimate.