 Birch Bay
 Window Installation in Cherry Point: Built for the Whatcom County Coastline
Cherry Point sits in the shoreline stretch of Whatcom County that includes Birch Bay, where homes take a steady beating from salt-laden air, wind-driven rain, and long stretches of gray, damp weather. Windows here don't fail the way they do in drier inland climates. They fail at the joints, the flashing, and the sill — the places where water and salt find a way in and just sit. If you're planning a window replacement or new installation on a Cherry Point property, the details of how the job is done matter more than the brand name on the window itself.
This page covers what local homes actually need from a window installation, what a correct job looks like from the outside in, and how we approach the work when we're on-site in Cherry Point.
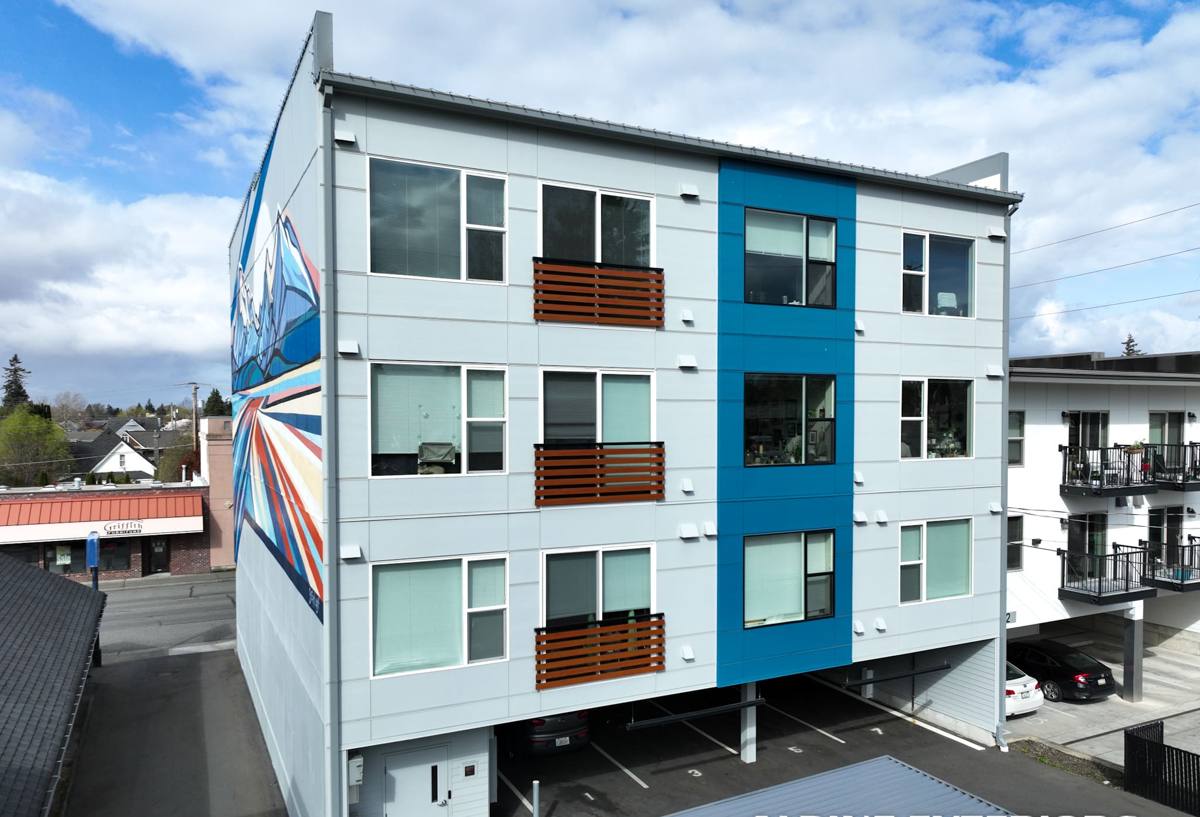
What This Climate Does to Windows Over Time
Three conditions drive most of the window problems we see in this part of Whatcom County:
- Salt air: Corrodes exposed fasteners, weep hole hardware, and lower-grade window components faster than inland installations. Aluminum and unprotected steel hardware are especially vulnerable.
- Driving rain: Wind off the water pushes rain sideways and upward into gaps that would stay dry in a calmer climate. This is a flashing and sealant problem more than a window problem — even a good window fails if the opening around it wasn't built to shed water uphill and out.
- Moss and prolonged damp: Long wet seasons keep wood trim, sills, and siding around window openings damp for weeks at a time. Moss and algae hold moisture against the surface, which accelerates rot in wood components and breaks down caulk and sealant faster than manufacturers' warranties usually assume.
None of this means windows in Cherry Point need to be exotic or over-built. It means the installation details — flashing, sealant choice, and drainage — have to be done correctly the first time, because this climate doesn't give a bad install much time to show itself.
Signs a Cherry Point Home Needs New Windows or a Re-Install
Homeowners usually notice one of these before they notice a full-blown leak:
- Fogging or moisture between glass panes (failed seal on a double- or triple-pane unit)
- Soft or discolored wood trim around the window frame, especially at the bottom corners
- Visible moss or dark staining on the siding or trim directly below a window
- Drafts or a noticeable temperature difference near the window in winter
- Windows that are hard to open, close, or lock — often a sign the frame has shifted or swollen
- Peeling paint or bubbling on interior sills, which usually means moisture is already getting past the frame
Any one of these on its own isn't an emergency. But on a home near the water, they tend to compound — a small gap this year is a soft sill next year and a wall repair the year after. Catching it at the window stage is the cheapest place to fix it.
What a Correct Window Installation Actually Involves
A window installation is really three jobs stacked on top of each other: managing water, managing air and insulation, and setting the window itself. Skipping or rushing any one of them is how call-backs happen.
Flashing and Water Management
This is the part of the job nobody sees once it's finished, and it's the part that matters most in a wind-driven-rain climate. Proper flashing means water that gets behind the siding or trim is directed back out and down, never trapped against the wood framing. This includes a sloped sill pan under the window opening, correctly lapped flashing tape at the sides and head, and weep paths that actually stay clear. On a Cherry Point exterior, we treat this step as non-negotiable regardless of window brand or price point.
Insulation and Air Sealing
The gap between the window frame and the rough opening needs to be filled with the right material — not just caulked shut on the surface. Overfilling with the wrong expanding foam can bow a frame out of square; underfilling leaves a cold, drafty gap that also gives moisture somewhere to condense. Done right, this step improves comfort and heating costs without creating a new problem.
Frame and Sill Condition
Before a new window goes in, the opening itself has to be sound. If there's rot or soft wood in the framing or sill from a prior leak, replacing the window without addressing that just seals the damage in behind a new, good-looking unit. We check and repair the opening as part of the job, not as a change order surprise halfway through.
Choosing the Right Window for a Salt-Air, High-Moisture Location
There's no single "best" window material — the right choice depends on how much upkeep you want to do and how the window is protected by roof overhangs, prevailing wind direction, and sun exposure. Here's how the common options actually compare for this specific climate:
| Material | Salt-Air & Moisture Behavior | Maintenance | Typical Trade-Off |
|---|---|---|---|
| Vinyl | Won't corrode or rot; performs well in salt air | Low — occasional cleaning | Frame color/finish can fade over many years of UV and salt exposure |
| Fiberglass | Very stable in moisture and temperature swings; resists corrosion | Low | Higher upfront cost than vinyl |
| Wood (unclad) | Attractive but vulnerable to rot if seals or paint fail in a wet climate | High — regular repainting/sealing | We're honest with clients that unclad wood is a harder sell directly on an exposed, salt-air elevation here |
| Wood with aluminum/vinyl cladding | Good — cladding shields the wood from direct moisture | Moderate | Cladding seams and corners need correct detailing to stay watertight |
| Aluminum (uninsulated) | Prone to corrosion and condensation in this climate without a thermal break | Moderate to high | We generally don't recommend uninsulated aluminum for exposed Cherry Point elevations — condensation and corrosion risk outweighs the low cost |
For most Cherry Point homes, vinyl or fiberglass in a quality tier gives the best balance of performance and low upkeep. Where a wood look is wanted, clad-wood units let you get it without the direct maintenance burden of unclad wood facing salt air.
Our Installation Process
- On-site assessment: We look at each opening individually — sun and wind exposure, current condition of trim and sill, and any signs of past water intrusion.
- Opening prep: Remove the old window, inspect the framing and sill for rot or damage, and repair anything compromised before the new unit goes in.
- Flashing installation: Sloped sill pan and properly lapped flashing tape, sequenced so water always drains outward, never behind the next layer.
- Window setting: Level, plumb, and square installation, shimmed correctly so the frame isn't stressed and hardware operates smoothly.
- Insulation and sealing: Correct fill around the frame, plus exterior sealant rated for this climate at all joints.
- Trim and finish: Reinstall or replace trim, caulk, and paint/finish as needed so the exterior sheds water the way it's supposed to.
- Final check: Operation, lock function, and a visual water-management check before we call the job done.
Why Hiring a Crew That Already Works Cherry Point Matters
A window installer who mostly works drier, inland jobs can still build a technically fine window — but they may not default to sloped sill pans, upgraded flashing tape, or the sealant choices that hold up under constant salt air and driving rain. That's not a knock on their skill; it's just not what their usual jobs demand. A crew that regularly works this stretch of Whatcom County treats those details as standard practice, not an upsell, because we've seen what happens on this coastline when they're skipped.
We also know how Cherry Point homes are typically oriented to wind and rain, which helps us flag the specific window or two on a house that's taking the most weather exposure and deserves extra attention during the install.
Checklist: What to Ask Before You Hire for a Window Job Here
- Do they install a sloped sill pan under every window, not just when asked?
- Will they inspect and repair the rough opening if there's existing rot or water damage?
- What flashing tape and sealant do they use, and are those products rated for coastal/high-moisture exposure?
- Do they carry current licensing and insurance for exterior work in Washington?
- Will they explain window material trade-offs honestly, rather than pushing one product regardless of your home's exposure?
- Do they offer a written scope of work before starting, including how existing trim and siding will be handled?
Cost Factors for Cherry Point Window Installation
Every home and opening is different, so exact numbers depend on the specifics of your project. In general, these factors move the price:
| Factor | Why It Matters |
|---|---|
| Window material and tier | Vinyl is typically the most budget-friendly; fiberglass and clad-wood cost more upfront but often need less upkeep on an exposed elevation |
| Number and size of openings | More or larger windows means more labor and material, but per-window cost usually drops with volume |
| Existing rot or water damage | Framing or sill repair adds time and material beyond a straightforward swap |
| Wall type (new construction vs. retrofit) | Retrofit installs into existing siding require more careful flashing integration than new construction openings |
| Access and elevation exposure | Upper-story or heavily wind-exposed windows may need extra time for proper flashing and sealing |
We'll always walk you through which of these apply to your home before giving you a number, so there are no surprises once work starts.
If you're considering new windows or a repair on a Cherry Point property, we're happy to take a look and give you a straightforward, no-pressure estimate — just fill out the form below and we'll follow up to schedule a visit.