 Birch Bay
 Building New in Blaine or Birch Bay? The Windows Have to Match the Site
New-construction window installation is a different job than swapping out an old window in an existing wall. There's no old frame to work around, no compromises forced by what's already there — but that also means there's no room for shortcuts. Every flashing detail, every gap, every sealant line is being set for the first time, and it has to be right, because it's going to sit behind siding or stucco for decades before anyone looks at it again. In Blaine and the rest of the Birch Bay area, that first-time install matters more than most places, because the marine air off the water and Semiahmoo Bay is unforgiving of anything less than a correct job.
We install new-construction windows for homeowners and builders working on new homes, additions, and full re-sides in Birch Bay, Blaine, and the surrounding Whatcom County shoreline. This page is about what that work actually involves here, not in a generic climate zone somewhere inland.
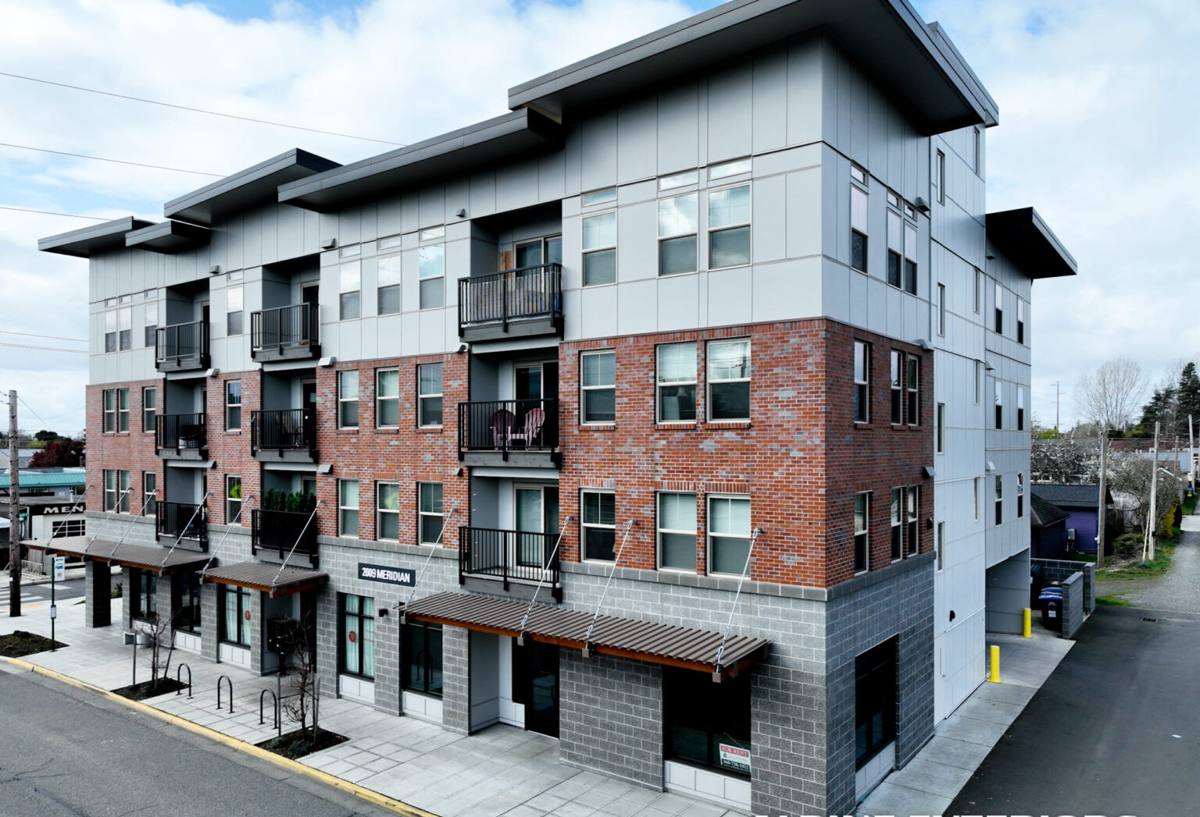
What This Climate Actually Does to a Window Opening
Salt Air
Blaine and Birch Bay sit close enough to saltwater that airborne salt is a real factor in material selection and hardware longevity. Salt-laden air accelerates corrosion on lower-grade fasteners, hinges, and cheap cladding finishes, and it can be harder on certain metal window components than a few miles inland. It's not a reason to avoid any one window brand — it's a reason to be deliberate about hardware finish, flashing metal, and fastener spec at install time.
Driving Rain
This is a wind-driven-rain region. Storms off the Strait of Georgia don't just fall — they get pushed sideways into wall assemblies, which means water pressure at a window opening isn't purely gravity-fed. A flashing detail that would be fine in a calm-rain climate can fail here if it relies on water simply running down and away. Every opening needs a drainage path built for rain that's actively being pushed uphill and sideways by wind.
Moss and Sustained Damp
Whatcom County's long wet season keeps siding, trim, and sills damp for extended stretches, and that's exactly the condition moss and mildew need to take hold around window perimeters. A window opening that traps moisture — from a missed weep path, poor sill slope, or sealant applied over damp wood — becomes a long-term moss and rot magnet, not just a cosmetic issue.
What a Correct New-Construction Window Install Involves
New-construction windows use a nail fin and get installed before or during siding, which means the window and the wall's water management system are built together. Get this sequence wrong and the mistake is buried behind finish material for years.
- Sill pan flashing installed first, sloped to the exterior, so any water that gets past the window drains back out instead of pooling on the rough sill
- Back dam or sloped shim system at the sill to stop water from running inward under the frame
- Window set plumb, level, and square before fastening — a racked frame stresses seals and can bind operating hardware for the life of the window
- Nail fin integrated with the water-resistive barrier in shingle-lap order: bottom flashing first, sides next, head flashing last, each layer overlapping the one below it
- Head flashing with an end dam, not just a strip of tape, so water directed off the top of the window can't run sideways into the wall at the corners
- Corrosion-appropriate fasteners and flashing metals given the salt-air exposure this close to the water
- Sealant applied only at the specific joints the window manufacturer's instructions call for — sealing every seam solid can trap water instead of letting it drain
Skip or shortcut any one of these steps and the window can look fine from the driveway while quietly letting water into the wall assembly. That's the failure mode we're guarding against on every install, especially in a wind-driven-rain area like this one.
Choosing Window Materials for a Birch Bay or Blaine Build
There isn't one "right" frame material for every project — it depends on budget, the home's design, and how much exposure the openings get to weather and salt air. Here's how the common options actually compare for a build in this area.
| Frame Material | How It Handles This Climate | Maintenance | General Cost Position |
|---|---|---|---|
| Vinyl | Good moisture resistance, no rust risk from salt air | Low — occasional cleaning | Most affordable |
| Fiberglass | Very stable in temperature swings and damp exposure, holds paint well if color changes are wanted later | Low | Mid to upper-mid |
| Aluminum | Strong but conducts cold and can be more prone to corrosion near salt air if hardware/finish quality is low | Moderate — watch fasteners and finish over time | Mid |
| Wood-clad | Attractive interior wood look; cladding must be fully intact to keep moisture off the wood core in a wet climate | Higher — cladding seams need periodic inspection | Highest |
For most new builds and additions in Birch Bay and Blaine, we see vinyl and fiberglass chosen most often — they hold up well against sustained damp and salt exposure without demanding much upkeep. Wood-clad is a legitimate choice for homeowners who want the interior look, but we're upfront that it comes with more long-term maintenance responsibility in a climate this wet.
Glass and Frame Performance
Beyond frame material, double-pane glass with a quality low-E coating and an appropriate gas fill is standard for this region — it helps with condensation control on cold, damp days as much as it does with energy costs. We'll walk through glass package options as part of your estimate rather than defaulting to one spec for every home.
Our Process for New-Construction Window Work
1. Site Visit and Opening Review
We look at the rough openings, wall orientation, and exposure — a window on the west or southwest side of a Birch Bay home facing the water gets a different level of driving-rain exposure than one tucked on a protected wall, and that can affect flashing detail and product recommendation.
2. Product Selection
We go over frame material, glass package, and hardware finish options suited to salt-air exposure, and give you honest tradeoffs — not a push toward whatever has the highest margin.
3. Flashing and Install
Sill pan, window set, and shingle-lap flashing integration happen in the correct order, coordinated with your builder's or our own siding schedule so the water-resistive barrier and window work as one system, not two separate trades that never talk to each other.
4. Inspection Before Siding Closes It Up
Once the flashing and window are in, this is the last point anyone can visually confirm the work before siding or stucco covers it for good. We check every opening at this stage rather than assuming the install went to plan.
Why Hire a Crew That Already Works This Area
New-construction window flashing is unforgiving of generic, one-size-fits-all technique. A crew that mostly works drier inland climates may default to lighter flashing details or standard sealant patterns that simply weren't engineered for sustained wind-driven rain and salt air. A crew working Blaine and Birch Bay regularly already knows which walls take the worst weather, how local moss growth shows up first when a sill isn't draining right, and which hardware finishes actually hold up near the water instead of just on paper. That local pattern recognition is the difference between an install that's fine for five years and one that's still tight in twenty.
A Homeowner's Checklist Before Windows Go In
- Confirm sill pan flashing is part of the written scope, not assumed
- Ask what fastener and flashing metal will be used given salt-air exposure
- Confirm the flashing sequence (sill, sides, head) will be inspected before siding closes over it
- Get the glass package and frame material in writing, not just "standard windows"
- Ask how orientation to wind and rain exposure factored into the plan for each elevation
- Clarify what a manufacturer's warranty actually covers versus what's covered by the installer's workmanship
Maintaining New-Construction Windows Through Birch Bay's Wet Season
Even a correctly installed window benefits from basic seasonal attention in this climate. Keep weep holes and sill tracks clear of debris and moss buildup so water can still drain as designed. Rinse salt residue off frames and hardware periodically if the home has direct water exposure. Check exterior sealant joints yearly for cracking, since UV and constant damp cycling break down sealant faster here than in drier regions. None of this is heavy maintenance — it's the kind of quick seasonal check that keeps a correctly flashed window performing the way it was built to.
Get an Estimate for Your Blaine or Birch Bay Project
If you're building new, adding on, or planning a full re-side in Blaine or Birch Bay, we'll walk your openings, talk through frame and glass options honestly, and give you a clear, no-pressure estimate for the work. Use the form below to get started.