 Birch Bay
 Siding Installation Built for Point Whitehorn's Shoreline Exposure
Homes along Point Whitehorn sit close enough to the water that the siding on them is doing a different job than siding on a house ten miles inland. Salt-laden air, wind-driven rain coming straight off the Strait, and long stretches of gray, damp weather all work on a home's exterior at the same time, year after year. When siding is installed correctly for that environment, it holds up for decades. When it isn't, the problems show up early — usually in the first few wet seasons — and they show up in the places that are hardest to see: behind trim, around window flashing, and at the bottom courses closest to grade.
This page is about one thing: what it actually takes to install siding correctly on a Point Whitehorn home, and why the product and the process matter as much as each other.
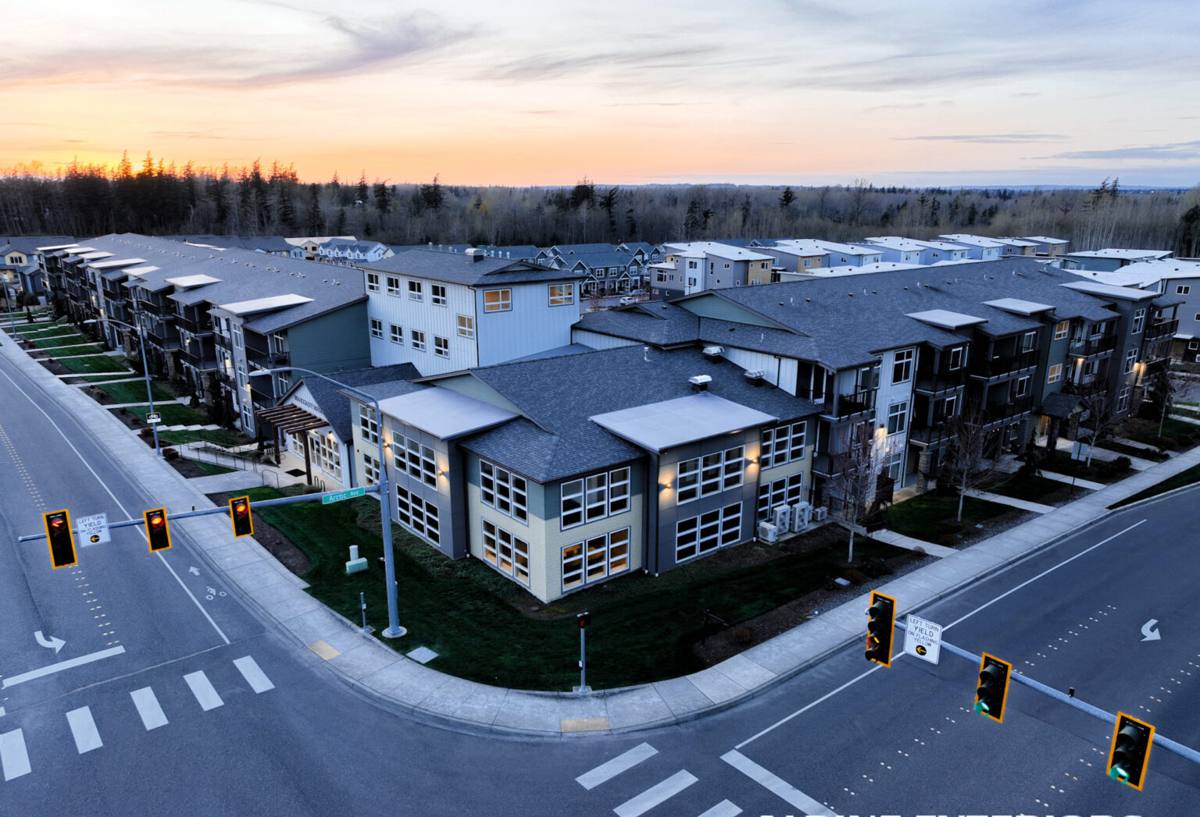
What Salt Air, Driving Rain, and Moss Actually Do to Siding
It's worth being specific about the three stresses named in this page's title, because each one attacks siding differently.
Salt Air
Airborne salt is corrosive to metal. Fasteners, flashing, and trim hardware that aren't rated for a marine-adjacent environment can corrode faster near Point Whitehorn than they would even a short distance inland. Corroding fasteners eventually loosen siding panels or leave rust streaks bleeding through the finish.
Driving Rain
Wind off the water doesn't let rain fall straight down — it pushes it sideways, into laps, seams, and any gap in the water-resistive barrier behind the siding. A siding system that only sheds water well in calm conditions isn't enough here. The lap spacing, flashing details, and house wrap underneath all have to assume rain will be forced sideways and upward at times.
Moss and Algae
Whatcom County's damp, mild climate means moss and algae have a long growing season — longer than most of the country gets. Shaded north walls, areas under trees, and low-sun exposures near Point Whitehorn stay damp for extended stretches, which is exactly what moss needs to take hold. Siding that absorbs moisture, or that traps it against the substrate, becomes a growing surface. Siding that resists moisture and dries out between rain events does not.
Why We Only Install James Hardie Fiber Cement
We install one siding product on every home we work on: James Hardie fiber cement. We don't install vinyl, LP SmartSide, Cemplank, Allura, primed spruce, or cedar, and that's a deliberate standard, not a limitation of what we're capable of installing. Fiber cement is dimensionally stable — it doesn't expand and contract with moisture the way wood-based products do, and it doesn't soften or degrade the way vinyl can under prolonged UV and salt exposure. It's also non-combustible, which matters to a lot of homeowners regardless of location.
The HZ5 Climate-Engineered Line
James Hardie engineers its products for specific climate zones, and the Pacific Northwest falls under Hardie's HZ5 (harshest zone) engineering, built around moisture and moderate-freeze performance rather than the drier, hotter conditions other regions deal with. That's the product line we use on Point Whitehorn homes — it's formulated for exactly the wet, marine-influenced weather this area sees most of the year.
ColorPlus Factory Finish
Most of the siding we install carries Hardie's ColorPlus factory-applied finish rather than field paint. A factory finish is baked on under controlled conditions, resists fading and chipping better than a job-site paint job, and comes with its own finish warranty. For a home exposed to salt air and driving rain, a finish that isn't relying on a perfect on-site paint day is a real advantage.
What a Correct Fiber Cement Installation Actually Involves
The material is only half the equation. Fiber cement siding installed with shortcuts will still fail early in a climate like this one. Here's what separates a correct installation from a rushed one:
| Detail | Done Correctly | Common Shortcut |
|---|---|---|
| Water-resistive barrier | Continuous, properly lapped house wrap with sealed seams and penetrations | Reused or damaged wrap, unsealed staple holes and seams |
| Flashing at windows/doors | Integrated head, jamb, and sill flashing that directs water out and over the siding below | Caulk relied on as the primary water barrier instead of flashing |
| Fastener choice | Corrosion-resistant fasteners rated for coastal/marine exposure, set to Hardie's specified pattern | Standard fasteners that corrode and streak or back out over time |
| Clearance at grade and roof lines | Minimum required clearance maintained so siding doesn't wick moisture from soil or roof splash-back | Siding installed tight to grade, decks, or roof surfaces |
| Lap and joint treatment | Properly sized laps, factory-primed cut edges sealed, joints flashed or shiplapped per spec | Cut edges left unsealed, joints caulked only |
| Ventilation behind siding | Rainscreen or drainage plane where conditions call for it, allowing the wall to dry | Siding installed flat against the barrier with no drainage path |
Every one of those details is inspectable, and every one of them is easy to skip if a crew is moving fast. On a home exposed to the wind and moisture Point Whitehorn gets, skipped details tend to surface as problems within a few winters rather than a few decades.
Our Installation Process
The process we follow doesn't change based on the neighborhood, but the attention paid to certain steps does, based on a home's exposure. For a Point Whitehorn property, that generally means:
- Site and wall assessment — checking existing siding, trim, and sheathing for hidden moisture damage before any tear-off begins, since a marine-exposed wall is more likely to have accumulated some over time.
- Tear-off and substrate check — removing old siding down to the sheathing and confirming it's sound before anything new goes up. Any soft or damaged sheathing gets addressed, not covered over.
- Water-resistive barrier installation — a continuous, correctly lapped barrier, with extra attention to seams and penetrations given the wind-driven rain this area sees.
- Flashing at every opening — windows, doors, and any wall penetrations get proper flashing before siding goes on, not caulk as a stand-in for flashing.
- James Hardie panel or lap installation — installed to manufacturer spec for fastener type, spacing, and clearance, using the HZ5 product line.
- Trim, caulking, and touch-up — factory-finish touch-up where needed, with sealant used at true transition points rather than as a general-purpose water barrier.
- Final walkthrough — a walk of the finished exterior with the homeowner before we consider the job done.
Living With Moss and Algae After Installation
No siding product makes a home immune to moss and algae in a climate this damp — but the right product and installation dramatically reduce how much of a problem it becomes, and how hard it is to deal with. A few things homeowners in this area can do to stay ahead of it:
- Keep gutters clear so water isn't sheeting down the wall face during heavy rain.
- Trim back vegetation and tree branches that shade siding and keep it damp longer than it needs to be.
- Rinse shaded, north-facing walls periodically — a garden hose is usually enough; avoid high-pressure washing directly at seams and laps.
- Watch low-sun corners and areas near landscaping beds, which tend to stay damp longest and show growth first.
- Address any bare or damaged finish promptly, since exposed substrate is more vulnerable to moisture uptake than an intact factory finish.
Why Local Experience in This Area Matters
Point Whitehorn homes aren't all built the same way or facing the same direction relative to the wind and water, and a crew that's worked this stretch of Whatcom County knows to check for that before a single panel goes up. Wind exposure can vary significantly from one lot to the next depending on tree cover and elevation, and that affects how much clearance, flashing detail, and fastening attention a given wall needs. A crew unfamiliar with this shoreline can install a technically correct siding job for an average site and still under-build it for a more exposed one.
Working in Whatcom County also means understanding the permitting and inspection expectations that apply here, and building a project timeline around the reality of a marine climate — including weather windows that can close quickly during the wetter months. None of that is complicated, but it's the kind of thing that only comes from having actually installed siding in this specific area before.
Cost Factors for Siding Installation in Point Whitehorn
Every home is different, and we won't quote a number without seeing the property, but these are the main factors that move the cost of a siding installation up or down here:
| Factor | Why It Matters |
|---|---|
| Home size and wall complexity | More square footage, corners, and roof lines mean more material and labor |
| Tear-off vs. new construction | Removing and disposing of existing siding adds time and cost versus a bare-wall install |
| Substrate condition | Hidden moisture damage found during tear-off may require sheathing repair before siding can go on |
| Trim and detail level | Additional trim boards, accents, and custom details add labor |
| Site accessibility | Waterfront lots with limited access or steep grades can affect staging and labor time |
| Finish selection | ColorPlus factory finishes and specific profiles vary in material cost |
Get a Free, No-Pressure Estimate
If you own a home near Point Whitehorn and you're weighing your options for a siding replacement or new install, we're happy to come take a look, walk the exterior with you, and give you a straight answer on what your home needs. There's no pressure and no obligation — just a clear look at the condition of your current siding and what a correct James Hardie installation would involve for your property. Fill out the form below to request your free estimate.