 Birch Bay
 Birch Bay Village Siding Takes a Different Kind of Beating
Homes in Birch Bay Village sit close enough to the water that siding here ages differently than siding ten or fifteen miles inland. Salt-laden air off Birch Bay works its way into fastener heads, trim joints, and any spot where a protective finish has worn thin, accelerating corrosion in ways that don't show up on a typical inland Whatcom County home. Add the driving, wind-pushed rain that comes with winter storms off the water, and you get moisture forced sideways into laps and joints that were only ever designed to shed water falling straight down.
Then there's moss. Whatcom County's marine climate means long, damp stretches where surfaces rarely get a chance to fully dry out, and north-facing or shaded walls in Birch Bay Village can carry a moss and algae load for most of the year. Moss doesn't just look bad — it holds water against the siding surface, keeps that surface perpetually damp, and, on the wrong substrate, creates the exact conditions that lead to rot and paint failure. Repairing siding out here means understanding all three of these forces together, not just patching whatever's visibly cracked.
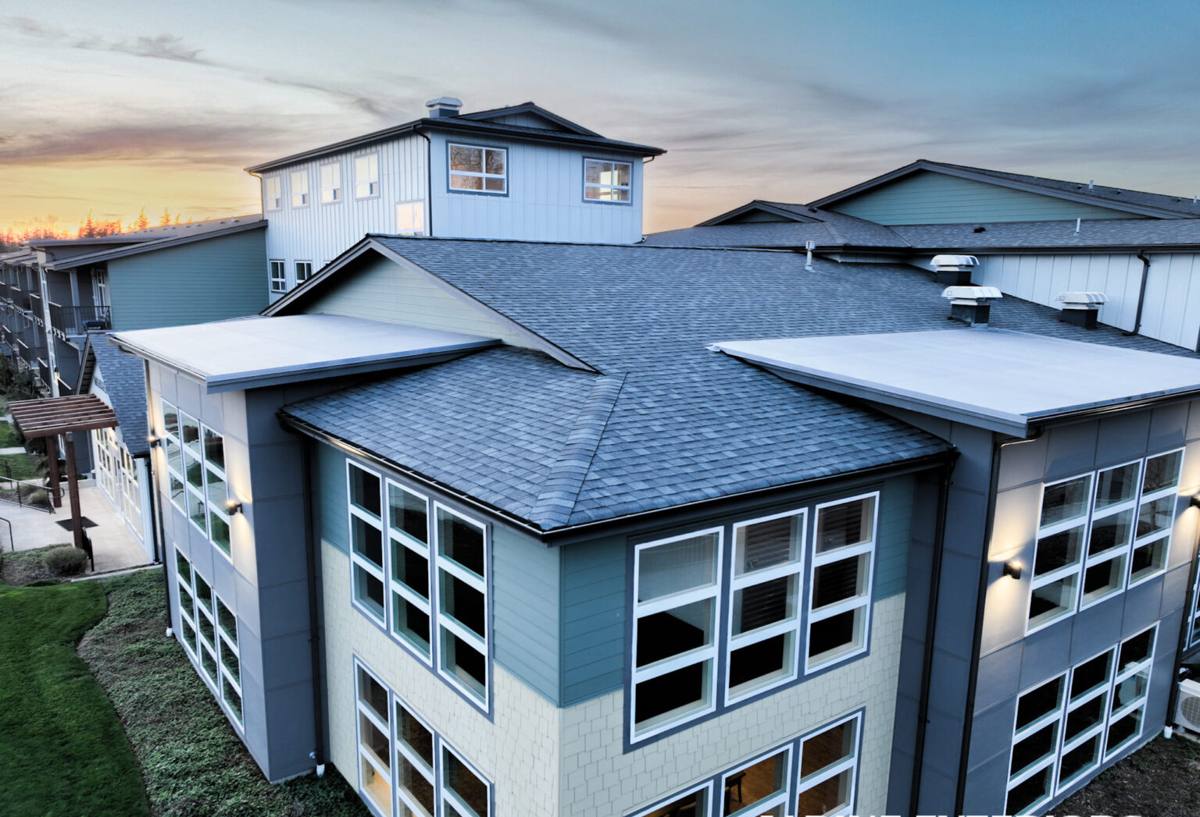
The Repair Issues We See Most Often in This Neighborhood
Most siding repair calls in Birch Bay Village fall into a handful of recurring patterns:
- Moisture intrusion behind lap joints — wind-driven rain finds its way behind horizontal laps that have lost their seal, soaking the wall assembly behind the siding before it ever shows on the surface.
- Failed or shrunken caulk joints — at trim, window returns, and butt joints, caulk that's cracked or pulled away lets water track straight in.
- Rot at butt joints and bottom edges — the two spots on any siding job that take on the most standing moisture, especially where the original installation didn't leave a gap for water to drain and dry.
- Nail pops and fastener corrosion — salt air accelerates rust on exposed fastener heads, which then stain the siding and eventually let panels work loose.
- Chronic moss and algae staining — cosmetic at first, but a long-term contributor to moisture retention if never addressed.
- Impact damage — cracked or dented sections from storm debris, ladders, or landscaping work.
Some of these are simple fixes. Others are a visible symptom of a moisture problem that's already done damage behind the wall — and the only way to tell the difference is to actually open up the area and look.
What a Correct Repair Actually Involves
A lot of "siding repair" in this region amounts to caulking over a crack and calling it done. That approach might hide a problem for a season, but it doesn't fix anything, and on a home exposed to Birch Bay's salt air and rain, it tends to fail again fast. A repair done right follows a specific sequence:
- Remove the damaged section rather than patching over it, so the crew can see what's happening underneath.
- Check the water-resistive barrier and flashing behind the siding for tears, gaps, or prior water staining.
- Inspect the sheathing for soft spots or rot before anything new goes back on.
- Replace any compromised framing, sheathing, or house wrap — not just the siding itself.
- Re-flash and re-lap the repair so water sheds outward and down, matching the original drainage plane.
- Install replacement material with proper fastener placement and clearance, not just tucked in to match the old piece visually.
- Match the finish and color as closely as the original product and its condition allow.
Skip the first three steps and you're just re-covering a problem that will resurface — often in a worse spot, once the rot has had another year or two to spread.
Repair vs. Replace: How We Decide
Not every damaged wall needs a full re-side, and not every crack is "just cosmetic." We look at a combination of factors before recommending either path:
| Factor | Favors Repair | Favors Replacement |
|---|---|---|
| Extent of damage | Isolated to one or two sections | Spread across multiple walls or elevations |
| Underlying substrate | Sheathing and framing sound | Rot or moisture damage found behind siding |
| Age and material of existing siding | Newer, still-supported product | Original siding at or past its practical service life |
| Moss/algae history | Recent, surface-level growth | Long-term staining with signs of trapped moisture |
| Color and profile match | Product still available or close match exists | Discontinued profile or badly faded existing siding |
The honest answer, more often than not for older Birch Bay Village homes, is that a repair fixes the immediate problem but the surrounding siding is close enough to the end of its life that a full re-side is the better use of the money over a five- to ten-year horizon. We'll tell you which situation you're actually in — not just sell whichever job is bigger.
Matching Materials When You're Repairing Existing Siding
If your home has James Hardie fiber cement siding already, repair sections can typically be matched closely using the same ColorPlus finish and profile, since Hardie's factory-applied color is formulated for consistency across production runs. If your home has an older wood, vinyl, or a different fiber cement product, an exact match gets harder — colors fade unevenly, profiles get discontinued, and vinyl in particular becomes brittle and hard to source in matching shades after a few years of UV exposure.
In those cases we lay out the real options plainly: patch with the closest available match and accept some visible difference, or use the repair as the trigger to plan a fuller re-side with a single, consistent product. We don't push a full replacement on every repair call — but we also won't pretend a mismatched patch will look invisible when it won't.
Why We Only Install James Hardie Fiber Cement
When a repair does turn into a replacement — whether it's a few damaged sections or a full elevation — we use James Hardie fiber cement, and only James Hardie. We don't install vinyl, LP SmartSide, Cemplank, Allura, or unfinished wood siding, and that's a deliberate standard, not a limitation of what we're capable of installing.
Fiber cement is non-combustible, which matters on any home, and Hardie's HZ5 product line is engineered specifically for climates like ours — freeze-thaw cycles, sustained moisture, and salt air included. The ColorPlus factory finish holds up better against fading and chalking than field-applied paint, which matters for a material that's going to sit in salt air and long wet seasons for decades. Hardie also backs its product with a strong transferable warranty, which is worth more on a coastal property than it is somewhere drier — warranty terms tend to get tested here, not just filed away.
None of that means every other product is a bad product. It means that after years of doing repair and replacement work in this climate, this is the system we trust enough to put our name behind — and the one we'd choose for our own homes.
Our Repair Process, Start to Finish
A typical Birch Bay Village repair call runs through the same steps regardless of size:
- On-site inspection. We look at the damaged area and the surrounding siding, not just the spot you called about.
- Moisture check. Where there's any sign of past water intrusion, we check the sheathing and framing behind the siding before quoting anything.
- Written scope and estimate. You get a clear explanation of what we found, what we recommend, and why — including if we think repair isn't the right long-term call.
- The repair itself. Removal, substrate correction if needed, re-flashing, and installation of matched or replacement material.
- Cleanup and walk-through. We show you what was done and why, including anything we found that you should keep an eye on going forward.
Why a Crew That Already Works Birch Bay Village Matters
Siding repair in a coastal Whatcom County community isn't the same trade as siding repair in a dry inland suburb. A crew that already works Birch Bay Village knows what wind-driven rain does to a lap joint on a water-facing wall, how fast moss re-establishes itself on a shaded north elevation here, and which repair shortcuts simply don't hold up a second winter this close to the water. That local pattern recognition is the difference between a repair that lasts and one you're calling about again next season.
It also means faster response and a shorter drive for follow-up if anything needs a second look — which matters more here than it might elsewhere, given how quickly a small leak can turn into a bigger repair once wind-driven rain gets behind an already-compromised joint.
Get an Honest Look at Your Siding
If you're seeing cracked caulk, staining, moss buildup, or a section that just doesn't look right, it's worth getting an honest assessment before winter's driving rain finds its way in. We'll tell you plainly whether you're looking at a straightforward repair, a bigger moisture issue, or a case where replacement makes more sense long-term. Request a free, no-pressure estimate using the form below, and we'll take a look.