 Birch Bay
 Terrell Creek sits in one of the areas around Birch Bay where new homes are still going in — infill lots, teardown-rebuilds, and a steady trickle of new construction alongside the older housing stock in this part of Whatcom County. Building new here means the windows get one real shot to go in correctly, tied into a rough opening and a weather-resistive barrier that don't exist yet on a replacement job. There's no old window to learn from and no existing flashing to inspect for clues about what worked. The opening is built to spec, the window goes in once, and the wall closes up around it.
That's a different kind of job than swapping out an aging window in a finished wall, and it deserves its own explanation rather than getting lumped in with general remodeling work. This page covers what new-construction window installation actually involves for a home being built in Terrell Creek, why the local climate changes some of the details, and what to expect from a crew that does this work regularly in this specific area.
What New Construction in Terrell Creek Is Up Against
Being close to Birch Bay puts new homes here in a more demanding environment than a comparable build a few miles inland. Salt-laden air off the water accelerates corrosion on hardware, fasteners, and lower-grade window components faster than a drier setting would. Storms coming off the water tend to drive rain sideways into wall assemblies rather than letting gravity carry it straight down, which puts real pressure on flashing details that a calmer climate would barely test. And the shade, dampness, and mild temperatures common to this stretch of Whatcom County support a moss and mildew season that runs long — often most of the year on north-facing walls and trim.
None of that is a reason to over-build or over-spec a new home. It is a reason to take the window installation sequence seriously from the rough opening forward, since a new build gives you the chance to get every layer right before the wall ever gets closed up — something a replacement project can only partially undo.
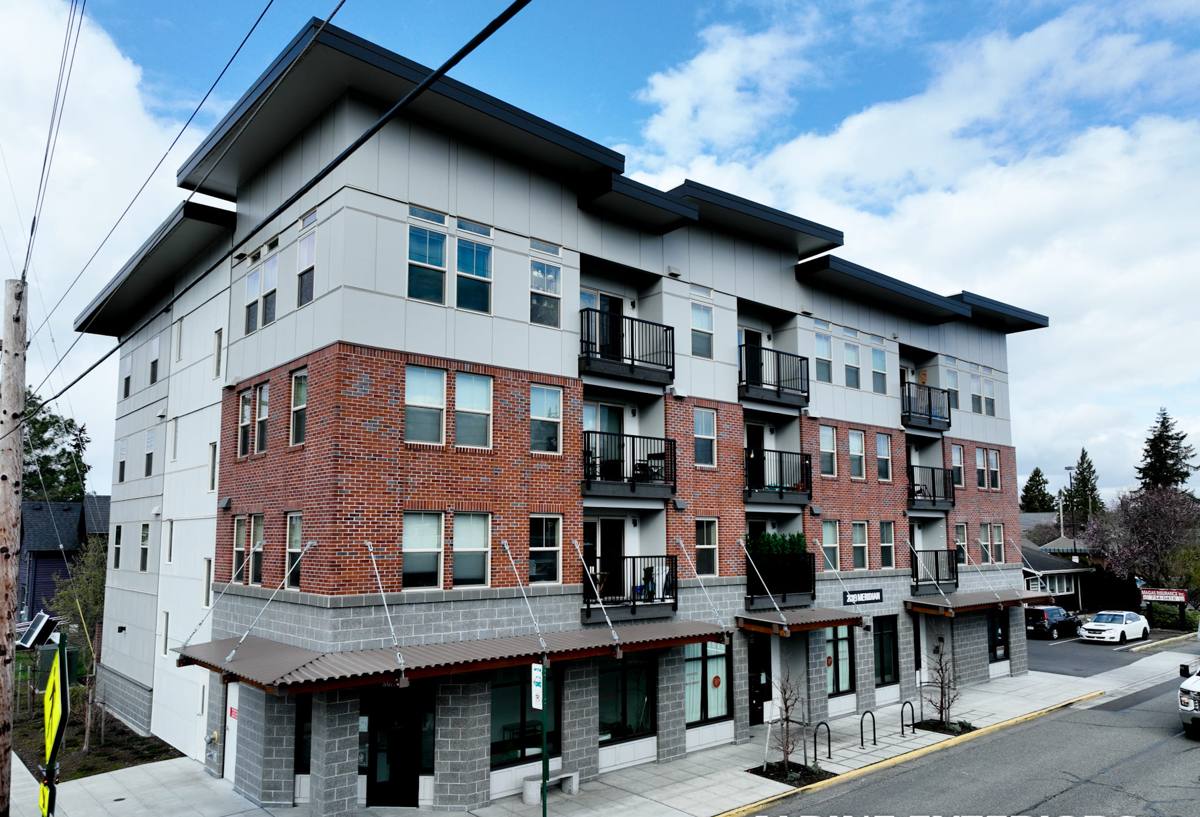
New-Construction Windows Aren't Just Bigger Replacement Windows
The window unit itself is only part of the job. New-construction installation is really about how the window ties into the rough opening, the weather-resistive barrier (WRB), and the siding that goes on afterward — all of which are being built at the same time as the window goes in, not retrofitted around it.
Nail-Fin vs. Block-Frame Basics
Most new-construction windows use a nailing flange — a fin around the perimeter of the frame that gets fastened to the sheathing and integrated directly into the WRB and flashing system. That's different from a block-frame or replacement-style window, which is designed to sit inside an existing finished opening without disturbing the surrounding wall. On a new build, the nail-fin approach lets us build a proper layered flashing system — sill pan, side flashing, WRB, then head flashing — with everything lapped correctly from the bottom up, the way it's supposed to work rather than the way it has to be adapted after the fact.
Choosing the right window style for the opening isn't just an aesthetic decision. It determines what flashing hardware and sequence apply, and it needs to be settled before the framer closes in the rough openings — not after.
Where This Job Fits in the Build Schedule
New-construction window installation isn't a standalone project — it's one step in a sequence that involves the framer, the WRB installer, and whoever is doing siding, and it has to happen in the right order relative to all of them. Windows generally go in after the WRB is applied but before siding starts, so the flashing can be integrated into the barrier correctly rather than caulked on top of finished cladding. Get that order wrong, or rush it to keep a schedule moving, and the flashing ends up working against the wall assembly instead of with it.
On a self-build or owner-managed project, this is often the point where communication breaks down — the framer finishes their scope and moves on, the window crew shows up on their own timeline, and nobody double-checks that the rough openings match the ordered window sizes until the units arrive. We coordinate directly with whoever is running the build schedule so window delivery, rough opening prep, and installation land in the right sequence the first time.
The Weatherproofing Sequence We Follow
This is the part of a new-construction window install that actually determines how the house performs in twenty years, and it's easy to shortcut because most of it disappears behind the siding once the job is done.
Sill Pans and Sloped Details
Every opening gets a sloped sill pan before the window ever sits in place, so any water that gets past the window — and eventually, some will — has somewhere to go besides the framing below it. On a driving-rain climate like this one, a flat or improvised sill is one of the more common places we see problems show up on homes built without that step done correctly.
Flashing Lap Order
Flashing tape and building paper have to be layered so each course overlaps the one below it — sill first, then side flashing, then the window, then head flashing, then WRB over the top. Installed out of order, water that reaches any layer gets funneled behind the one below it instead of shedding outward, which turns a minor seal imperfection into a hidden leak path.
WRB Integration
The window's nailing flange has to tie cleanly into the weather-resistive barrier on all four sides, with no gaps, wrinkles, or unsupported spans of tape. This is detail work that takes real time per opening, and it's the step most likely to get compressed when a crew is trying to move fast across a multi-window house.
Frame Material and Glass Package Choices for New Builds
New construction gives you a real choice of frame material and glass package before anything is locked in, which isn't always true on a replacement project constrained by an existing opening. We'll walk through the honest trade-offs for your specific home rather than defaulting to whichever option is fastest to install.
| Frame Material | Coastal Durability | Maintenance | Typical Fit |
|---|---|---|---|
| Vinyl | Good — resists corrosion, no finish to fail | Low — occasional cleaning | Budget-conscious builds, straightforward openings |
| Fiberglass | Very good — stable in temperature swings, resists moisture-driven warping | Low | Larger openings, higher-performance builds |
| Aluminum-clad wood | Good exterior protection with a wood interior look | Moderate — exterior clad is low-maintenance, interior wood still needs periodic attention | Homes prioritizing an interior wood finish |
| All-wood | Weakest in sustained salt air and moisture without diligent upkeep | High — regular finish maintenance required | Interior-facing or protected openings, not typically our lead recommendation on exposed elevations here |
On elevations that take direct wind and rain off the water, we lead with vinyl or fiberglass for their lower long-term maintenance burden in this climate. Glass package matters too — a low-E coating and an appropriate gas-fill spec cut both heat loss and condensation risk, and we'll help you match the glass to how each opening is oriented rather than specifying one package across the whole house.
Washington Energy Code and What It Means for Your Windows
New construction in Washington has to meet current state energy code requirements, and window performance — expressed as a U-factor, essentially how much heat the window loses — is one of the pieces that gets checked. Exact minimums shift as the code gets updated, so we confirm current requirements with your local building department and permit documents rather than working off a number that may be outdated by the time your project is inspected. What we can tell you upfront is that meeting code minimums and building a window package that actually performs well in this climate aren't always the same target — code sets a floor, not a recommendation.
Practically, this means we look at your whole window schedule together: total glass area, orientation, and how much of the home's heat loss is riding on the windows versus the walls and roof, so the U-factor and glass spec we land on make sense for the house, not just the inspection.
Our Process for New-Construction Window Installs
- Plan review — we go over the window schedule with your builder or design plans to confirm sizes, styles, and rough opening dimensions before anything is ordered
- Ordering and lead time — new-construction windows are typically ordered to match your framing schedule, and we'll give you a realistic timeline so the units arrive when the openings are ready
- Rough opening check — we verify each opening is square, level, and sized correctly before installation day, and flag anything the framer needs to correct first
- Sill pan and flashing prep — sloped sill pans and the first flashing layers go in before the window does
- Window installation — units are set plumb, level, and square, fastened per manufacturer spec, and shimmed correctly to avoid frame distortion
- Flashing and WRB integration — head flashing and WRB tie-in complete the weatherproofing layer before siding starts
- Final check — operation, seal, and flashing lap are checked on every opening before we sign off
What to Confirm Before Windows Go In
- Rough openings match ordered window sizes exactly, not approximately
- A written flashing sequence exists for the crew to follow, not general manufacturer instructions
- Sill pans are part of the plan for every opening, not just the ones facing the weather
- Lead time for the windows lines up with the framing and siding schedule, in writing
- Current Washington contractor licensing and insurance are confirmed before work starts
- It's clear who is responsible for the window unit warranty versus the installation labor warranty
Why a Local Terrell Creek Crew Matters
Manufacturer installation instructions are written for average conditions in a moderate climate, and they don't account for what a home near Birch Bay actually faces — sustained salt air, wind-driven rain, and a moss season long enough to test every weak point in a flashing detail. A crew that has installed new-construction windows on other builds in this specific area knows which steps in the standard instructions are worth extra time here, and which shortcuts that might be fine somewhere drier simply don't hold up on this stretch of coastline.
That local experience shows up in decisions that don't come up in a sales pitch — how much lap a flashing course needs on a west-facing opening that takes direct weather, whether a sill needs a sloped composite pan instead of relying on caulk, how tightly the WRB has to tie in around a nailing flange before the siding crew shows up. Those choices are what decide whether the windows in a new Terrell Creek home are still performing cleanly in fifteen or twenty years, or showing drafts and soft trim well before that.
If you're building new in Terrell Creek or planning a build in the surrounding Birch Bay area, it's worth having someone review your window schedule and rough openings before installation day arrives. We offer free, no-pressure estimates for new-construction window work in this area — use the form below to get a time on the schedule.