 Birch Bay
 New-Construction Windows in Lummi Island: Getting It Right Before the Walls Close Up
Building new in the Birch Bay area means dealing with a specific set of conditions from day one: salt-laden air off the water, driving rain that doesn't fall straight down so much as get pushed sideways into the wall, and a moss and mildew season that runs long across most of the year in Whatcom County. New construction gives you one real advantage over a remodel or retrofit — you get to build the window openings and the water management around them correctly from the start, instead of working around decades of prior shortcuts. That advantage only pays off if the crew doing the window install understands what this specific stretch of coastline does to a building envelope over time.
We handle siding, roofing, windows, and decks on homes throughout the Birch Bay area, and on new-construction window work specifically, we treat the rough opening, the flashing sequence, and the tie-in to the weather-resistive barrier as the part of the job that actually determines whether those windows perform for thirty years or start showing problems in five. The window unit itself matters, but it's rarely what fails first out here.
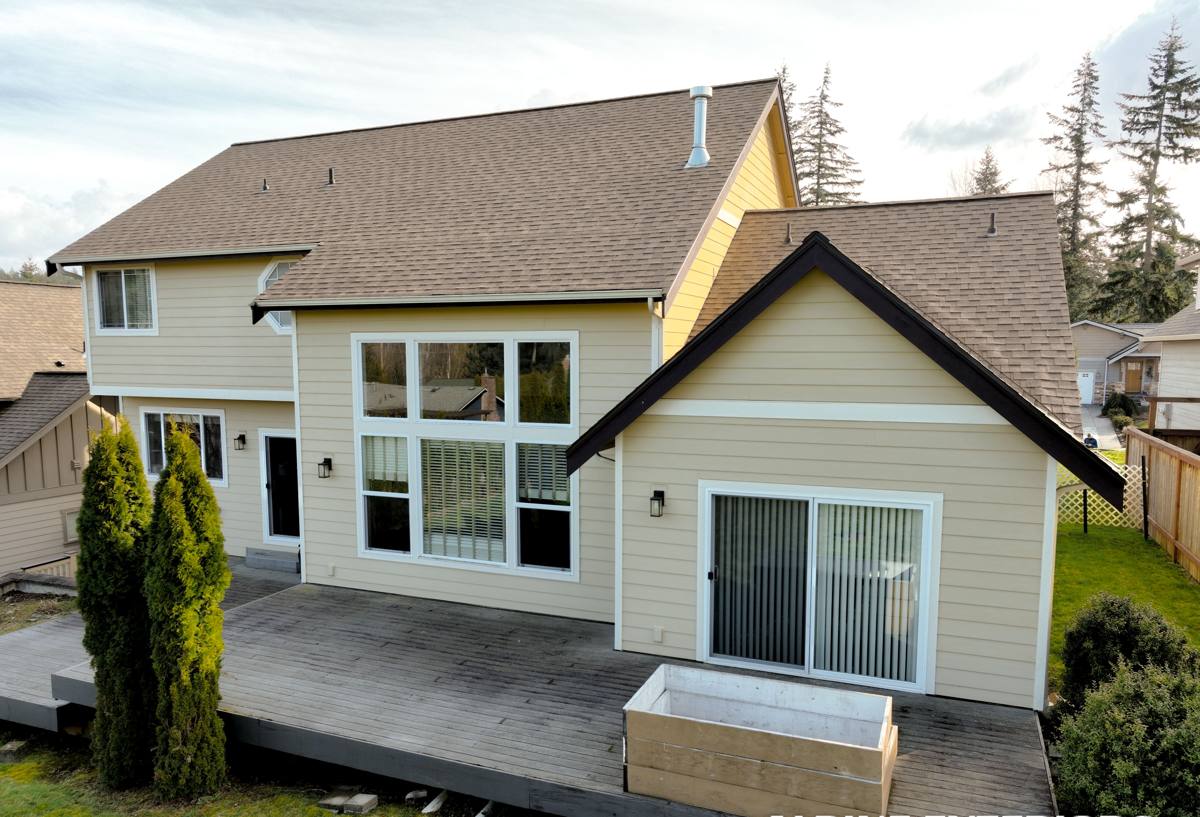
What Lummi Island's Climate Asks of New Windows
Salt Air and Corrosion
Proximity to the Salish Sea means homes in this part of Whatcom County take on salt-laden air as a matter of course, not just during storms. Over years, that air accelerates corrosion on lower-grade window hardware, fasteners, and cladding fastener heads. On a new build, this is the easiest problem to solve permanently, because you're specifying hardware and fasteners before anything is installed rather than trying to replace corroded components later without disturbing finished siding.
Driving Rain
Open water exposure means rain in this area frequently arrives at an angle rather than falling straight down, which puts real pressure on every seam around a window opening. A window that would perform fine in a sheltered inland setting can leak here if the flashing sequence isn't built to shed water outward at every layer, from the sill pan up through the head flashing. This is a detail that has to be right the first time — once siding is closed up over it, correcting a bad flashing job means tearing back finished work.
Long Moss and Mildew Season
Mild, wet conditions through fall, winter, and spring give moss and mildew a long growth window across most of the county, and window sills, trim, and any horizontal surface where water can sit instead of draining become growth surfaces over time. On new construction, this is addressed through slope, drainage, and material choice at the sill — details that are far easier to get right during the build than to retrofit later.
Condensation From Temperature Swings
Damp winters combined with the difference between heated interiors and cold, wet exteriors create steady condensation pressure on glass and frames. New-construction windows with a proper glazing package and correct installation handle this far better than older single-pane units, but the glazing package alone isn't enough — poor air sealing around the frame during install can still leave a new window prone to interior condensation and drafts.
New-Construction vs. Retrofit: Why the Install Method Is Different
New-construction windows and retrofit (or "replacement") windows aren't just different products — they're installed differently, and that difference matters most before the exterior finish goes on. A new-construction window typically has a nailing flange that gets integrated directly into the wall's weather-resistive barrier and flashing system during framing, before siding is installed. A retrofit window installs into an existing opening without disturbing the surrounding cladding. Building new gives you the chance to use the nail-fin method with full flashing integration, which is the more reliable approach for long-term water management when it's available.
| Factor | New-Construction (Nail-Fin) | Retrofit (Block-Frame) |
|---|---|---|
| When it's used | New builds, full renovations to the studs | Existing homes, cladding staying in place |
| Flashing integration | Direct tie-in to WRB and wall flashing | Limited to the existing opening's condition |
| Water management control | Full control over sill pan and drainage | Constrained by what's already built |
| Best long-term performance | Highest, when installed correctly | Good, dependent on existing wall condition |
What Correct New-Construction Window Installation Involves
The window unit is only one part of a system. Getting new-construction windows right in this climate means the following happen in sequence, every time, on every opening:
- A sloped sill pan flashing installed before the window ever goes into the rough opening, so any water that gets past the window has somewhere to go besides the framing
- Jamb flashing that ties into the sill pan and laps correctly with the weather-resistive barrier on both sides
- Head flashing installed last, lapping over the top of the window flange and integrated with the WRB above so water is directed out and away rather than behind the opening
- Correct fastener spacing and type at the nailing flange, matched to the wall assembly and rated for the exposure
- Air sealing around the interior of the frame, separate from the exterior water management layer, to control condensation and drafts
- Backer rod and sealant at the exterior trim line, rated for sustained moisture exposure rather than general-purpose caulk
Skipping or shortcutting any one of these steps doesn't usually show up as a problem right away. It shows up two, five, or ten years later as water staining, soft framing, or a musty smell inside a wall that looked fine when it was closed up.
Choosing a Window System for a Lummi Island Build
We install vinyl and fiberglass window systems built for the Pacific Northwest's wet, mild climate, and we walk homeowners and builders through real trade-offs rather than pushing a single brand as the only correct answer. On a new build, this decision gets made once, so it's worth taking seriously.
- Frame material: Vinyl and fiberglass both resist rot in a way uncladded wood-frame windows don't, which matters given how much moisture this region sees year-round.
- Glazing package: Double or triple-pane with low-E coatings improves both energy performance and resistance to interior condensation during long damp stretches.
- Hardware grade: Corrosion-resistant hardware is worth specifying up front on any build in salt-air reach, since replacing failed hardware later usually means disturbing finished trim.
- Nailing flange integration: Confirm the flange material and profile are compatible with the flashing tape and WRB system being used on the rest of the build — mismatched systems are a common source of long-term leaks.
- Warranty structure: A manufacturer's product warranty covers the unit itself; it doesn't cover a leak caused by flashing installed incorrectly. We stand behind our installation work separately from the manufacturer's coverage.
How Window Openings Connect to the Rest of the Build
Window flashing doesn't work in isolation — it has to tie into the weather-resistive barrier, the siding drainage plane, and often the roof-to-wall details on a new build, especially where windows sit near rooflines, decks, or other transitions. We handle siding, roofing, windows, and decks as connected trades rather than separate line items, which matters most during new construction because the sequencing has to be right: WRB before flashing tape, flashing before window install, window install before siding closes it all up. A crew that only handles windows in isolation can do a technically correct window install and still hand off a leak-prone wall if the sequencing with the rest of the envelope isn't coordinated.
Our Process for New-Construction Window Work
We start by reviewing the plans and window schedule with the builder or homeowner, confirming flange type, rough opening sizes, and how window flashing will integrate with the WRB and siding system specified for the build. From there we handle sill pan flashing, window installation, and head and jamb flashing as a sequenced part of the framing and weather-barrier stage — not an afterthought once the shell is closed up. We document flashing details as they're completed, since that's the stage where problems are cheapest and easiest to catch, and coordinate directly with framers and siding crews so nothing gets covered up before it's inspected.
A Practical Checklist Before Hiring for New-Construction Window Work
- Ask specifically how sill pan flashing and head flashing will be sequenced and integrated with the WRB — not just what window brand is being installed
- Confirm current Washington contractor licensing and active liability insurance
- Get a written scope that separates the manufacturer's product warranty from the contractor's installation warranty
- Ask who coordinates window installation with the framing and siding crews if they're different companies
- Confirm lead times on window orders early — custom sizes for new construction can take several weeks and affect the build schedule
- Ask to see flashing details documented or photographed before siding closes over them
Why a Local Crew Matters for a Lummi Island Build
A crew that already works this stretch of the Birch Bay coastline knows how salt air, wind-driven rain, and a long moss season behave here compared to a drier or more sheltered inland site. That shows up in specific decisions — how much lap a flashing detail gets, whether standard fasteners or corrosion-resistant ones get specified, how sill pans are sloped and drained — and those decisions are what determine whether new windows perform quietly for decades or start causing problems within the first few wet winters. On a new build, there's no second chance to fix a flashing mistake without tearing into finished work, so getting it right the first time is worth the extra attention.
If you're planning new construction in the Birch Bay or Lummi Island area and want a straightforward conversation about window systems, flashing sequencing, or how window work fits into your overall build schedule, we're happy to talk it through. Reach out below for a free, no-pressure estimate.