 Birch Bay
 Siding Repair Built for Terrell Creek's Weather
Terrell Creek sits in one of the wetter, wind-exposed corners of Birch Bay, close enough to the water that salt air and driving rain are part of daily life for the siding on every home in the area. Whatcom County gets its share of Pacific storms, but homes near Terrell Creek take a specific combination of hits: onshore wind carrying salt spray, long stretches of low-angle rain that drives sideways into wall assemblies, and a moss and algae season that can run eight or nine months out of the year in shaded, north-facing spots. Siding here doesn't fail because it's old — it fails because moisture found a way in and nobody caught it early.
This page is about one job: repairing siding on Terrell Creek homes. Not a full replacement pitch, not a generic "we fix siding" page — the specific work of diagnosing what's actually wrong, fixing the water management behind the wall, and matching the repair to the rest of the house so it doesn't stick out like a patch.
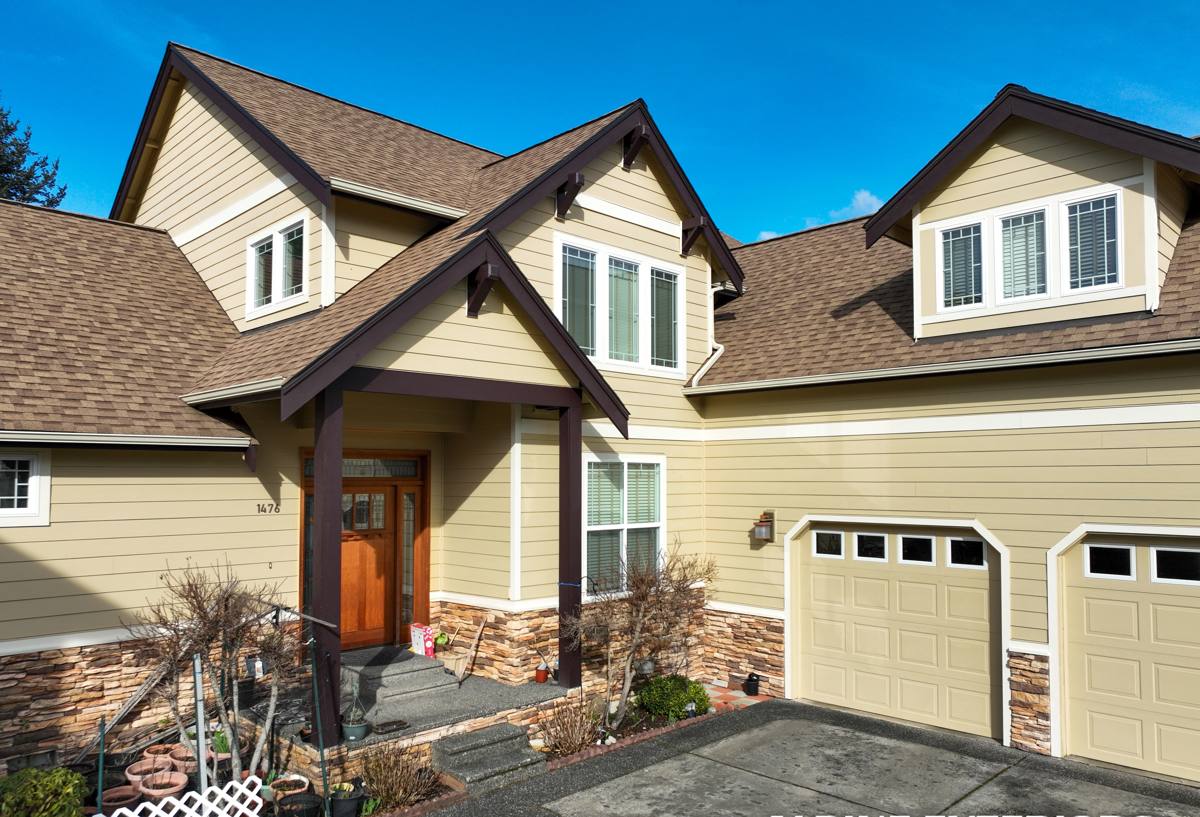
What Salt Air, Rain, and Moss Actually Do to Siding
Salt Air and Corrosion
Homes within a mile or two of Birch Bay's shoreline deal with airborne salt that settles on every exterior surface, including siding fasteners, flashing, and trim. On wood-based products this accelerates paint failure and softens the substrate at seams. On metal flashing and nail heads, it speeds up corrosion, which is often the real cause of a stain or a soft spot that looks like it's "just weathering."
Driving Rain and Wall Moisture
Wind-driven rain doesn't just wet the face of the siding — it pushes water horizontally into laps, seams, and any gap around windows, doors, and penetrations. If the water-resistive barrier behind the siding, the flashing details, or the caulk joints aren't doing their job, that water gets behind the cladding and into the wall assembly, where it causes rot, mold, and sheathing damage long before it shows up as a visible problem on the surface.
Moss, Algae, and Trapped Moisture
Terrell Creek's tree cover and proximity to wetland areas mean shaded siding stays damp longer after every rain. Moss and algae growth on siding isn't just cosmetic — it holds moisture against the surface, and on the wrong substrate that constant damp accelerates decay, especially at butt joints, corners, and anywhere caulk has started to crack.
Signs Your Siding Needs Repair — And When It's More Than Repair
- Soft, spongy, or crumbling siding when you press on it near the bottom courses or around windows
- Visible staining or dark streaking running down from a seam, corner, or window head
- Bubbling, peeling, or bulging paint in a localized area rather than across the whole wall
- Persistent moss or algae growth that returns quickly after cleaning
- Gaps opening up at butt joints, corner boards, or trim where caulk has failed
- A musty smell or visible mold on the interior wall directly opposite a damaged exterior spot
- Fastener heads rusting through the paint or popping out of the siding face
Most of these are legitimate repair situations if caught early — a section of damaged siding, the flashing behind it, and the water-resistive barrier get opened up, corrected, and closed back in. The judgment call is knowing when damage has spread past a clean repair boundary. If rot has traveled into the sheathing over a wide area, or the same failure is showing up in multiple unrelated spots on the house, that's usually a sign the whole wall system needs attention rather than a patch — and we'll tell you that plainly instead of repairing over a bigger problem.
What a Correct Siding Repair Actually Involves
A repair that only replaces the visible damaged board and caulks the edges is a cosmetic fix, not a real one. Done correctly, siding repair in a climate like Terrell Creek's means addressing three layers, not one:
1. The Siding Itself
Removing the damaged section cleanly, checking adjacent boards for hidden softness or moisture, and sourcing a matching replacement in the correct profile, reveal, and — where possible — factory finish color.
2. The Water Management Behind It
Every repair is an opportunity to inspect what's underneath: house wrap or building paper, flashing at windows and penetrations, and the drainage plane that's supposed to let any incidental moisture escape. If that layer is torn, missing, or was installed wrong the first time, replacing the siding without fixing this just resets the clock on the same failure.
3. The Details That Cause Repeat Failures
Kick-out flashing at roof-to-wall intersections, proper caulk joints (not caulk used as a substitute for flashing), and correct clearance between siding and grade, decks, or roofing are the details that most often get skipped — and they're usually the actual reason a section failed in the first place.
Our Repair Process
- On-site diagnosis. We inspect the damaged area and the surrounding wall, probe for hidden soft spots, and identify whether the cause is a flashing failure, a caulk failure, a moisture-trapping detail, or straightforward wear.
- Open it up. We remove enough siding to see the actual extent of the problem — not just the visible board — including a check of the sheathing and water-resistive barrier underneath.
- Fix the cause, not just the symptom. Damaged sheathing gets replaced, flashing gets corrected or added where it's missing, and the drainage plane gets restored before any new siding goes back on.
- Match the replacement. We match profile, reveal, and finish as closely as the original product allows, so the repair reads as part of the wall rather than a visible patch.
- Seal and finish correctly. Proper joint treatment, fastening, and touch-up finishing — using methods and materials suited to what's actually there, not a one-size-fits-all caulk-and-paint approach.
- Walk the job with you. We show you what we found, what we fixed, and what to watch for going forward — especially if we saw early signs of a similar issue elsewhere on the house.
Repair or Replace? An Honest Look at the Trade-Offs
Homeowners in Terrell Creek often ask us to just look at "the bad spot," and sometimes that's genuinely all it needs. Other times, a spot repair on an aging wall system is a short-term patch on a longer-term problem. Here's how we think about it:
| Factor | Favors Repair | Favors Full Replacement |
|---|---|---|
| Extent of damage | Localized to one or two sections | Recurring in multiple, unrelated areas |
| Underlying wall system | House wrap and flashing intact elsewhere | Water-resistive barrier failing broadly |
| Siding material | Still available or closely matchable | Discontinued, badly faded, or incompatible product |
| Age of existing siding | Well within expected service life | Nearing or past the end of its practical life |
| Cost over time | Lower upfront cost, addresses today's issue | Higher upfront cost, resets the whole system |
We'll always give you the repair option first if it's a sound one. We only recommend full replacement when a patch would be spending money to delay the same conversation a year or two down the road.
Why We Repair With James Hardie — and Why That Matters for Matching
This company installs James Hardie fiber cement siding exclusively — we don't install vinyl, LP SmartSide, Cemplank, Allura, primed spruce, or cedar. That standard applies to repairs too, and it matters more than most homeowners expect. Hardie's HZ product lines are climate-engineered for regions like ours, and the ColorPlus factory finish is formulated to hold color and resist the kind of coastal fading and moss staining Terrell Creek homes see. When we're patching a section of Hardie siding, we're working with a product designed for this exact exposure, and matching finish and profile is far more consistent than trying to blend a repair into a wood-based or vinyl product that's already faded, warped, or discontinued.
If your home currently has a different siding product and needs repeated repair, that's a conversation worth having honestly: we'll tell you what we're seeing, what's driving the recurring damage, and why Hardie is what we'd put on the wall if it were being replaced — not because the existing product is worthless, but because of how it tends to perform over time in this specific climate.
Why Hiring a Crew That Already Works Terrell Creek Matters
Siding repair is a diagnostic trade before it's an installation trade. A crew that already works this stretch of Birch Bay knows which failure patterns show up here — where wind-driven rain tends to find gaps, which orientations hold moss longest, and how salt exposure changes the maintenance timeline compared to siding a few miles further from the water. That local pattern recognition is the difference between a repair that solves the actual problem and one that just replaces the board you pointed at.
It also means fewer surprises on scheduling and material sourcing — we know what's realistic for weather windows in this part of Whatcom County, and we're not guessing at conditions we've never worked in.
Keeping Repaired Siding From Failing Again
A good repair should buy you years, not months. A few habits make a real difference in a Terrell Creek exposure:
- Rinse moss and algae off shaded siding at least once a year before it gets a foothold
- Keep gutters clear so overflow doesn't run down the wall face repeatedly
- Trim back vegetation that keeps siding shaded and damp longer than it needs to be
- Recaulk joints at the first sign of cracking rather than waiting for a gap to open
- Walk the exterior after major windstorms and check for loose or dislodged sections
- Address small stains or soft spots immediately — they rarely stay small on their own
If you're seeing damage on your Terrell Creek home — a soft spot, a stain, recurring moss, or siding that just doesn't look right anymore — we're glad to take a look and give you a straight answer on what it needs. The estimate is free, there's no pressure, and you'll walk away knowing exactly what's going on with your walls.